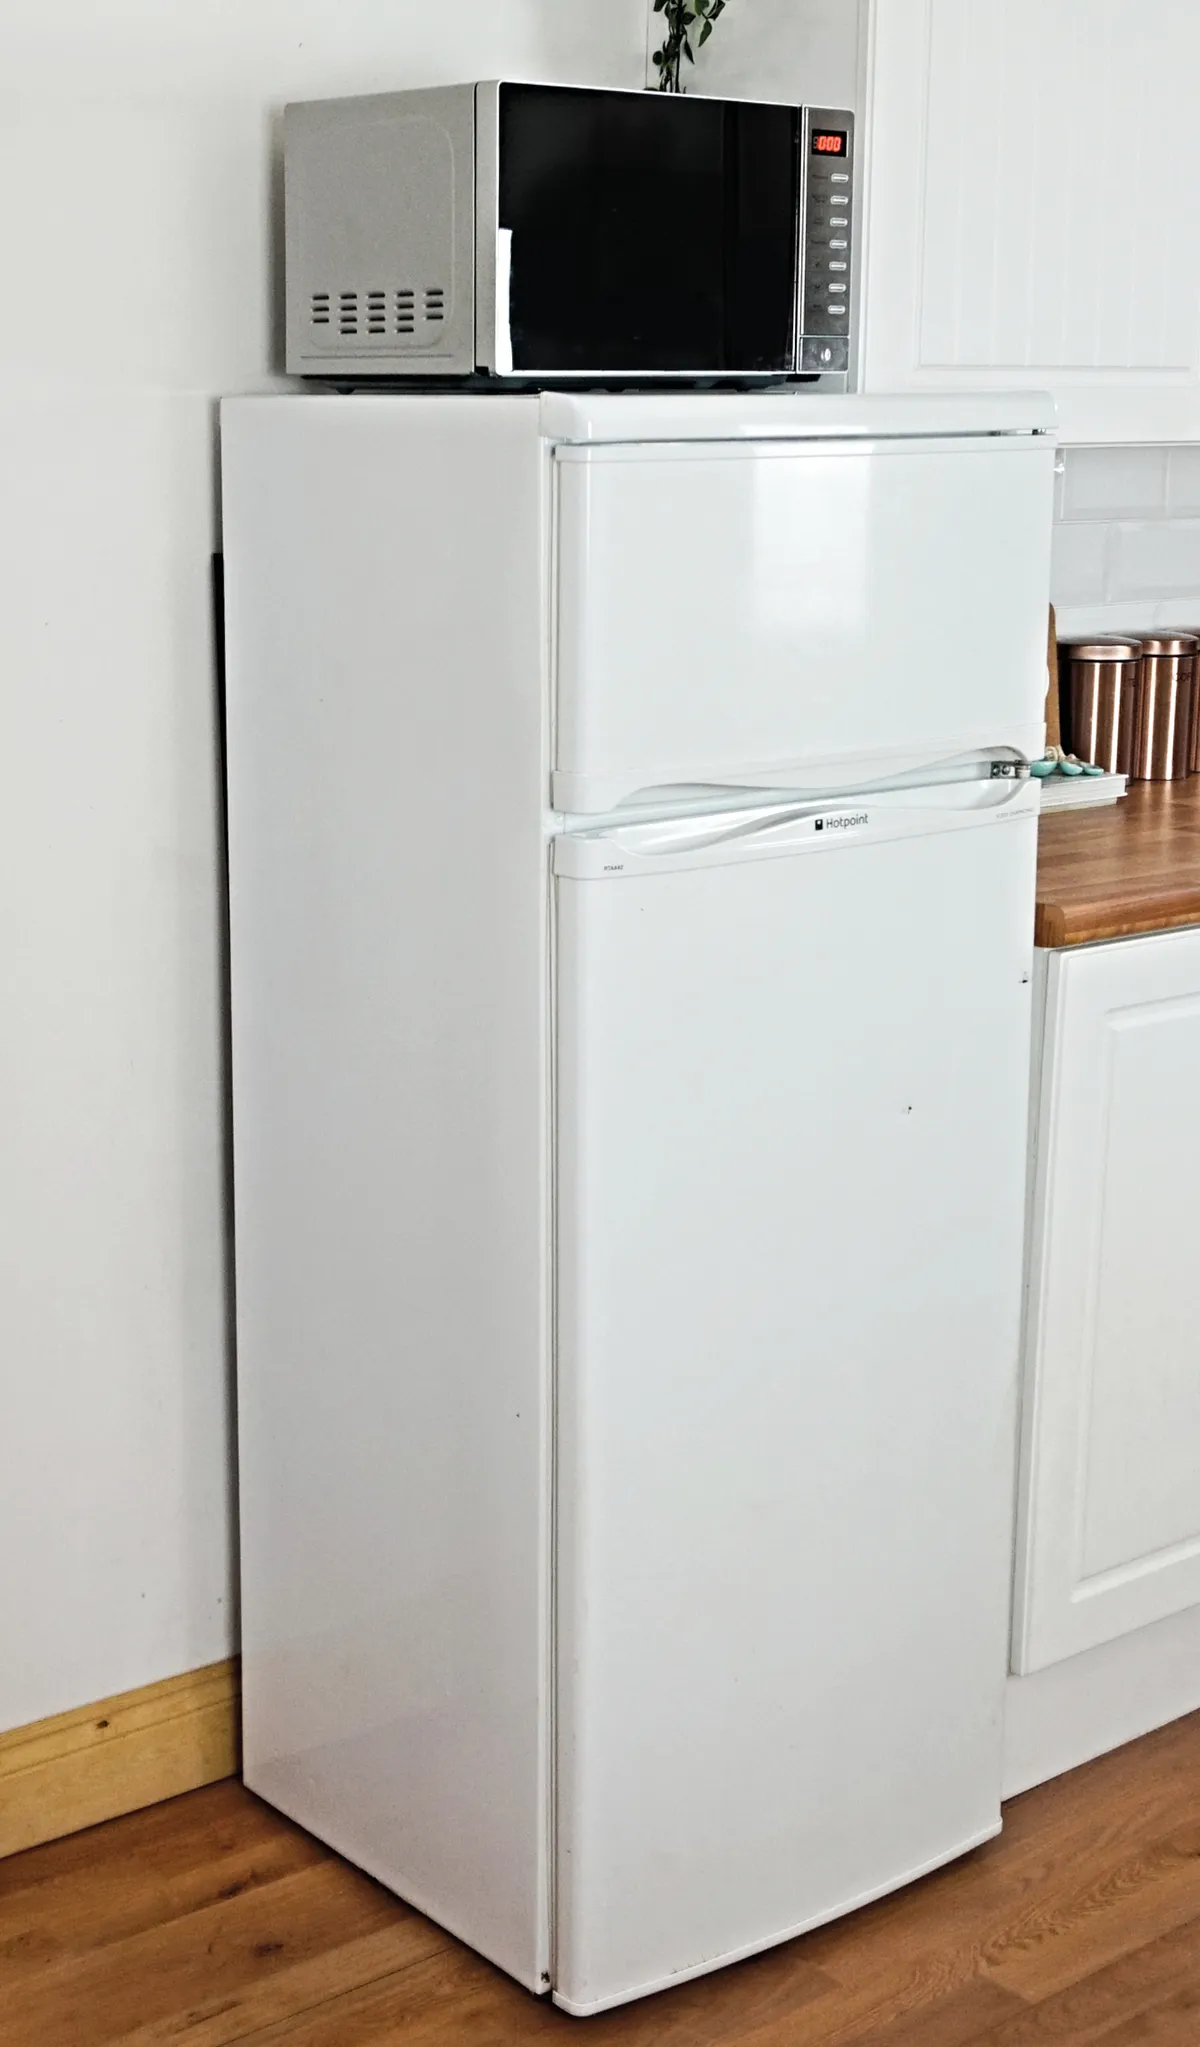
Step 1
First, cover the area underneath and around the fridge with dust sheets to protect flooring from dust and paint drips. Using a sponge, soap and water, clean the surface thoroughly. All wax, oil and grease should be removed.
Next, rub the fridge with an ammonia-based cleaner. Many household cleaning solutions contain ammonia (although you can use one-part water and one-part white vinegar instead). Mix the cleaner with water and sponge all over the surface, then dry it with a lint-free cloth or leave to air dry. Use a steel wool scourer to remove any remaining encrusted food and debris.
Now the fridge is clean and dry, you will need to sand it to provide a ‘key’ – this is a surface that paint will more readily adhere to. Choose a medium sandpaper and rub all over the appliance, wherever it will be painted. Dust the surface with a clean paintbrush, then sand a second time, with a finer sandpaper.
Carefully cover any areas you want to protect from paint with masking tape. This includes door handles and rubber seals. Press the tape down firmly to ensure no paint can creep underneath it.
Time to prime
Step 1
Use a multi-surface primer, such as Rust-Oleum Mode Grey Matt Surface Primer, £6 for 400ml from Amazon. Shake the can thoroughly and spray evenly over the appliance – hold the can at a consistent distance from the surface (roughly 25cm) and move gently from side to side.
One 400ml bottle will cover roughly 1m². Allow about two hours to dry.
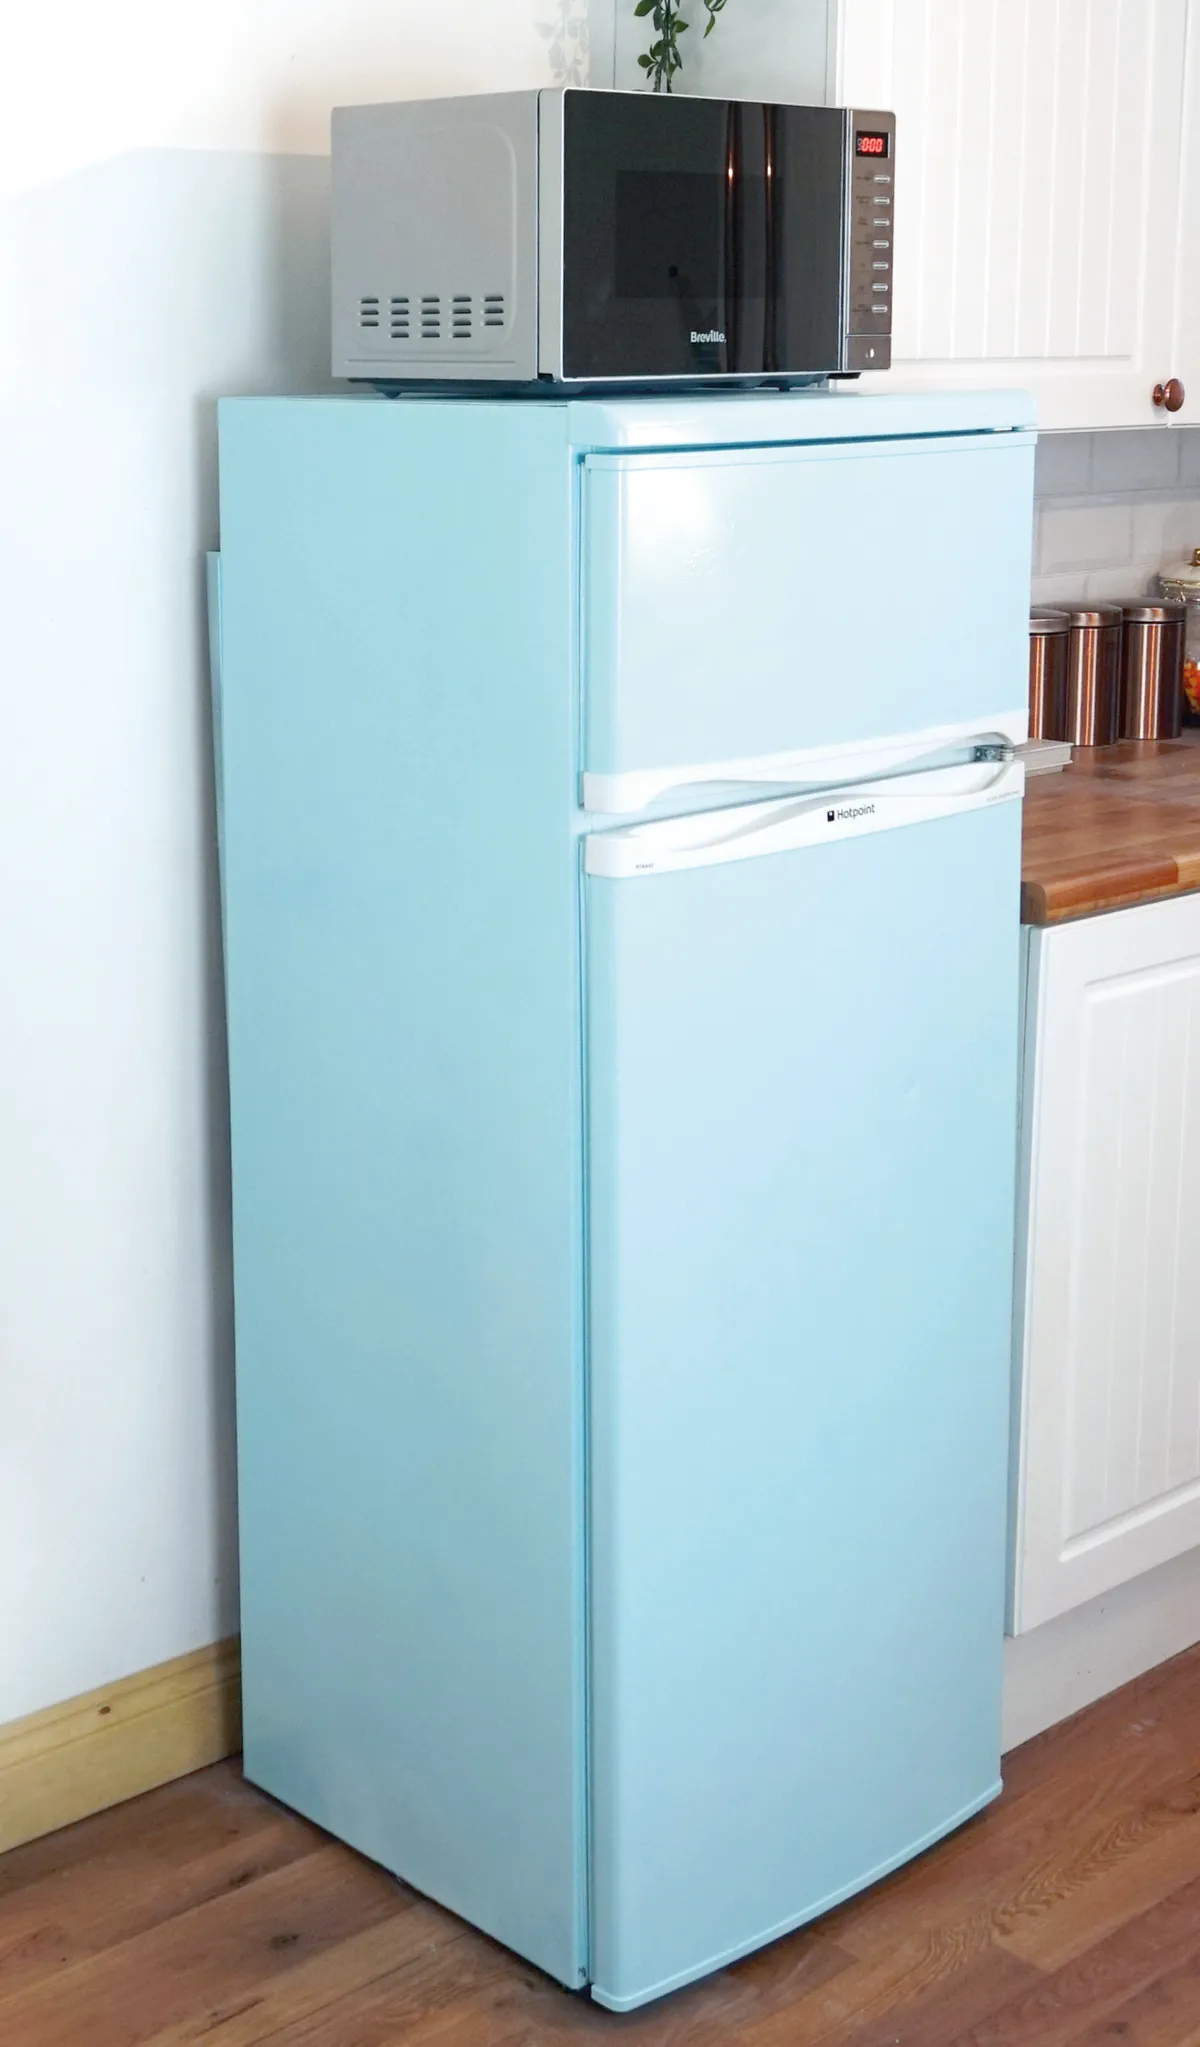
Ready, steady, paint!
Step 1
The appliance is now ready for you to apply your colour of choice. We recommend using a spray paint, such as Rust-Oleum Mode, £9.90 for 400ml from Amazon, to ensure an even finish. Apply two coats of paint, allowing a minimum of 15 minutes in between each.
Leave the appliance for about 60 minutes after the last coat is applied to ensure it is dry before handling.
If you make a mistake or have dripping or bubbling, don’t panic: you can correct just about any error with sandpaper. Simply wait until the paint is dry and use fine sandpaper before reapplying the top coat.
If a colour pop just isn’t jazzy enough, paint on additional detail in whatever design you like. How about clouds created from a simple DIY stencil?