
Ever wanted to know how to propagate your houseplants? It’s surprisingly easy to grow new plants from existing ones, say Paul Anderton and Robin Daly, known as @twodirtyboys, on Instagram. Their latest book, Propagate: How to Regrow your Houseplants, shows you how to do it, so read on for their expert advice.
What is propagation?
To propagate a plant is really to create baby plants from the parent plant, either through fertilisation or cuttings. In propagating a plant, we are trying to fool it into thinking a natural process is taking place. Of course, in nature no plant is cut by a sterile knife, potted into a glass jar or placed in a plastic bag. Yet each of these stages mimics something that happens in nature. Plants have evolved to use damage, drought, their seeds being eaten – whatever it might be – to their advantage. In fact, these setbacks help them to spread, thereby increasing the species’ chances of survival.
In the wild, nature can launch a million experiments in propagation every day, but you may have only a handful of cuttings, or perhaps as few as one very precious but poorly-looking stem. Therefore, when we propagate, we’re aiming to increase our chances of success by hijacking the cutting’s natural ability to regrow, and by putting it into near-perfect conditions.

Why is sterilisation important in propagation?
Something is considered sterile when it has no bugs or germs living on its surface. A knife or jar can look spotlessly clean, but be teeming with microscopic life. We use sterilisation to minimise the chance of these unwanted pests taking over your propagation project and killing your vulnerable fresh cutting. You can sterilise your equipment in three ways: chemical sterilisation (using surgical sprit); warm soapy water; or for larger pieces of equipment and your growing medium, temperature (sterilise non-plastic items by pouring boiling water over them or using tongs to lower them into a pan of boiling water).
How to sterilise potting medium
- Place as much of it as you will need for your project into a deep baking tray (baking pan) and wet until damp all the way through.
- Cover it tightly with kitchen foil and bake in the oven. The length of time will depend on how much you are sterilising.
You must make sure that the middle of the potting mixture has reached a sustained temperature of at least 72°C (15 minutes should be long enough). This will kill any bugs and germs. We’ve found that as a general rule, 2kg compost should be baked in the oven at 160°C for 90 minutes.
When should I propagate houseplants?
It’s always advisable to take cuttings in the spring or summer, during the growing phase (a few plants have their growing phase during the winter months, so for those, take cuttings then). Take cuttings when the plant is at its most vibrant, and likely to have the easily available energy (from the sun) to survive the trauma of being cut from its parent plant and growing a whole new vascular root system.
Always take a cutting from a healthy stem, one that is free of pests and disease and looks vivid in colour. If the plant is not naturally so vibrant, the cutting should look like all the other shoots; don’t choose the weak and sickly-looking straggler.
How do I care for my propagated plants?
Houseplants are complex little creatures, forced to live in alien environments – such as your living room – and thousands of miles from home. Every room is different, every pot, window or water type and weather pattern, so the variables that will affect how well your cutting thrives are numerous. Our book includes a tried-and-tested step-by-step guide for each plant and you should get a healthy propagation, but we also recommend researching each specific plant’s aftercare thoroughly. Trial and error will ultimately be your guide, as you discover the personalities of each of your plant babies and where they are happiest in your home.
Which is the easiest houseplant to propagate?
The spider plant is the rookie propagator’s entry-level, sweet-spot starter plant, since it can be propagated in not one, but two of the easiest ways. The plantlets that grow from runners, sent out by the parent plant, are called spiderettes, and are essentially propagating themselves.
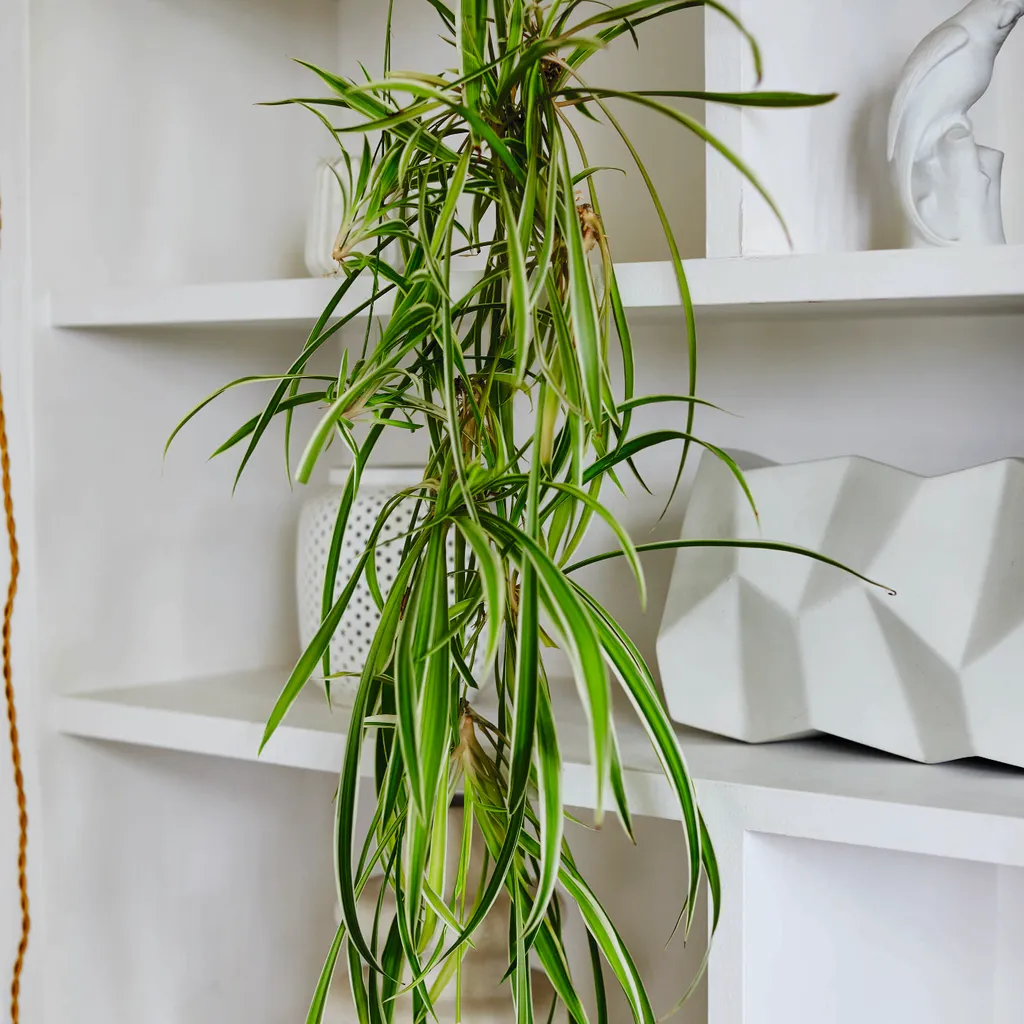
How to propagate a spider plant
- When the spider plant is mature, it will start to send out offshoots that look like stalks and have flowers at the end. Once the spiderettes start to form, place the mother plant in the middle of a table or on the floor, since you need an area large enough for the spiderettes and their pots.
- To pot in soil, count the spiderettes and fill the same number of small pots with potting compost. Surround the mother plant with the pots, then take a spiderette and match it to a pot, positioning the pot so that the spiderette’s running stem is not twisted or taut. Once you’ve found the natural place for the pot, simply press the spiderette into the compost and hold it down with an opened-out paperclip, to give the spiderette the best chance of taking root.
- The process is similar with water; just replace the pots with glasses or jars of water. Don’t fill them too deep, since you only want to cover the developing roots. You can use marbles or pebbles to hold the spiderette in place, with just the base of the spiderette touching the surface of the water. The water level will fall as the plant drinks, and through evaporation, so you will need to keep topping it up.
- Over several weeks you will begin to notice your spiderettes have developed their own roots, either in the soil or in water. Simply take a pair of scissors or secateurs and snip the spiderette away from the main plant where the long stem meets the spiderette. If your new plants have rooted in water you’ll now need to transfer them to their own pot of potting compost so they can continue to grow into a strong and healthy spider plant.
Extracts taken from Propagate: How to Regrow your Houseplants by Paul Anderton & Robin Daly (Hardie Grant, £12.99).
You can follow Paul Anderton and Robin Daly on Instagram at @twodirtyboys and buy the book below.
