Creating a galley wall is a great way of showing off your art and photographs and putting your personal stamp on a room, but planning how to display it can be a challenge - hanging one picture can be daunting enough, never mind a selection! Here's what you need to consider before you get the drill or hammer out:
How to create a galley wall
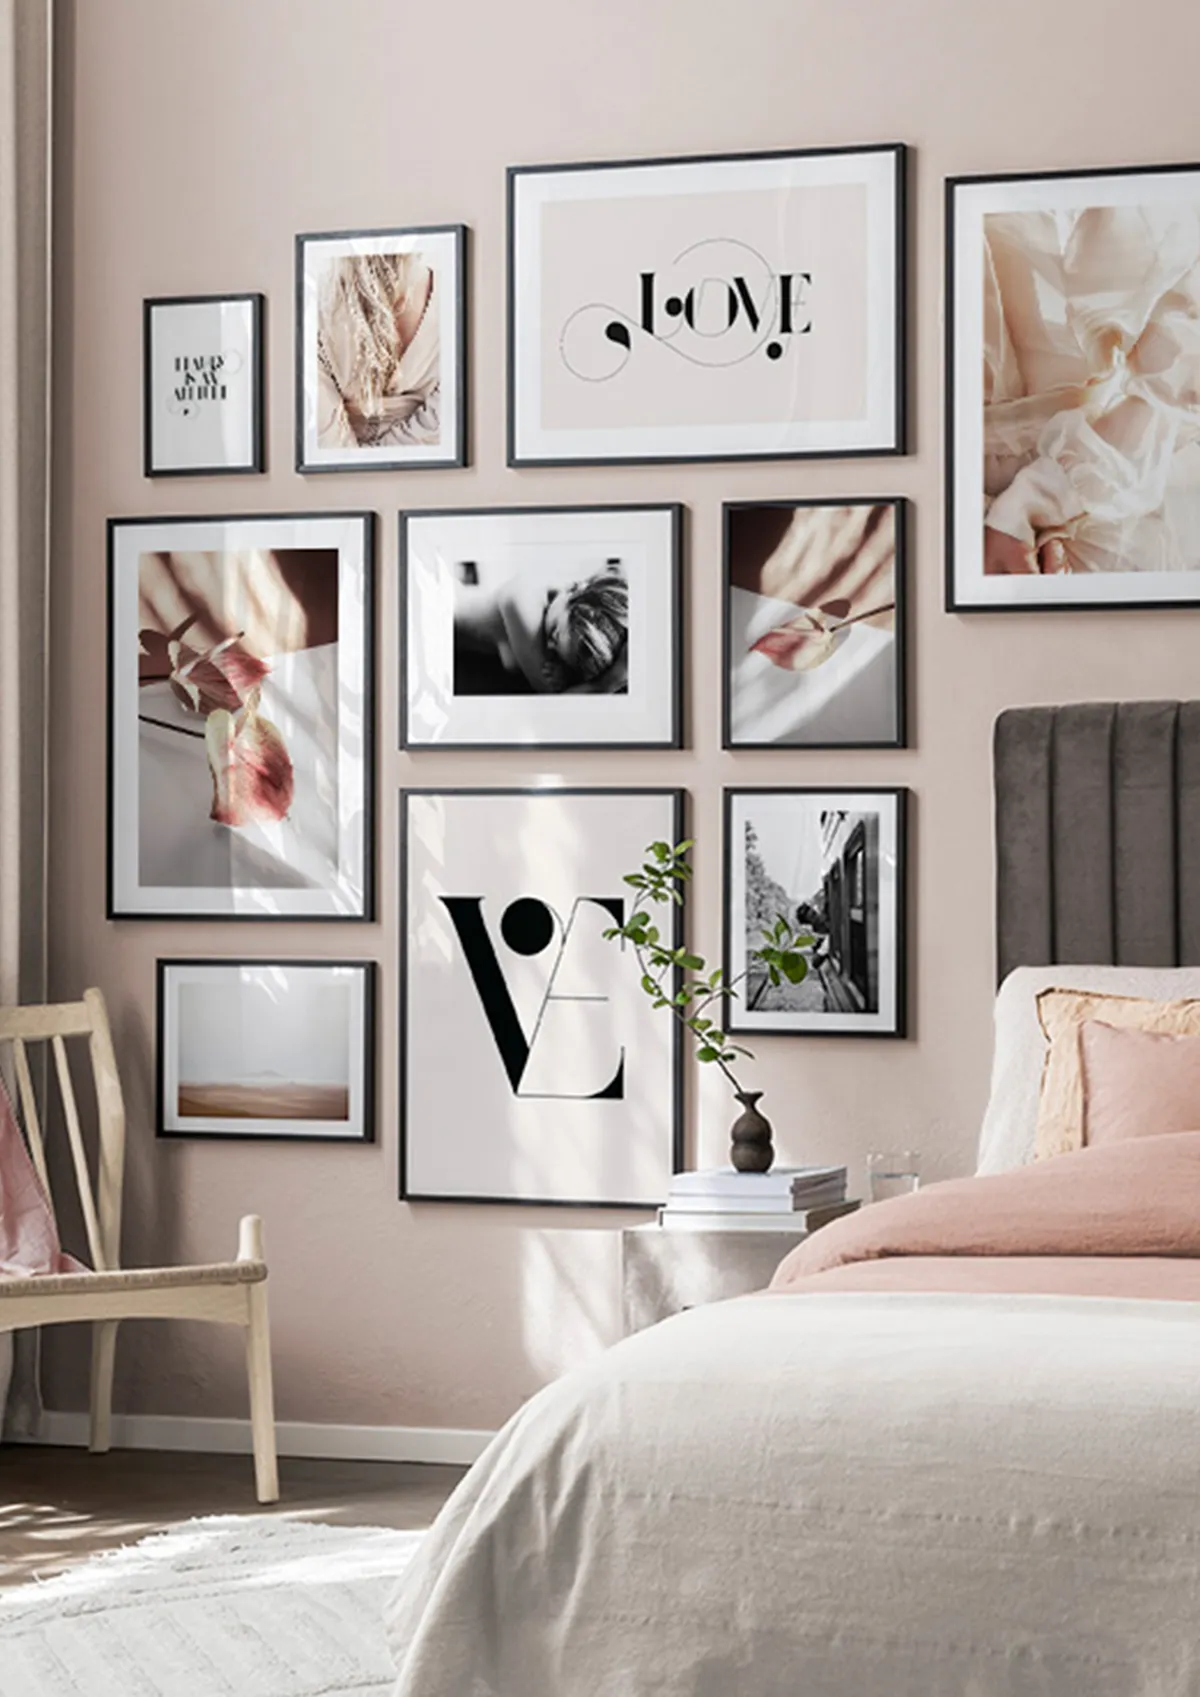
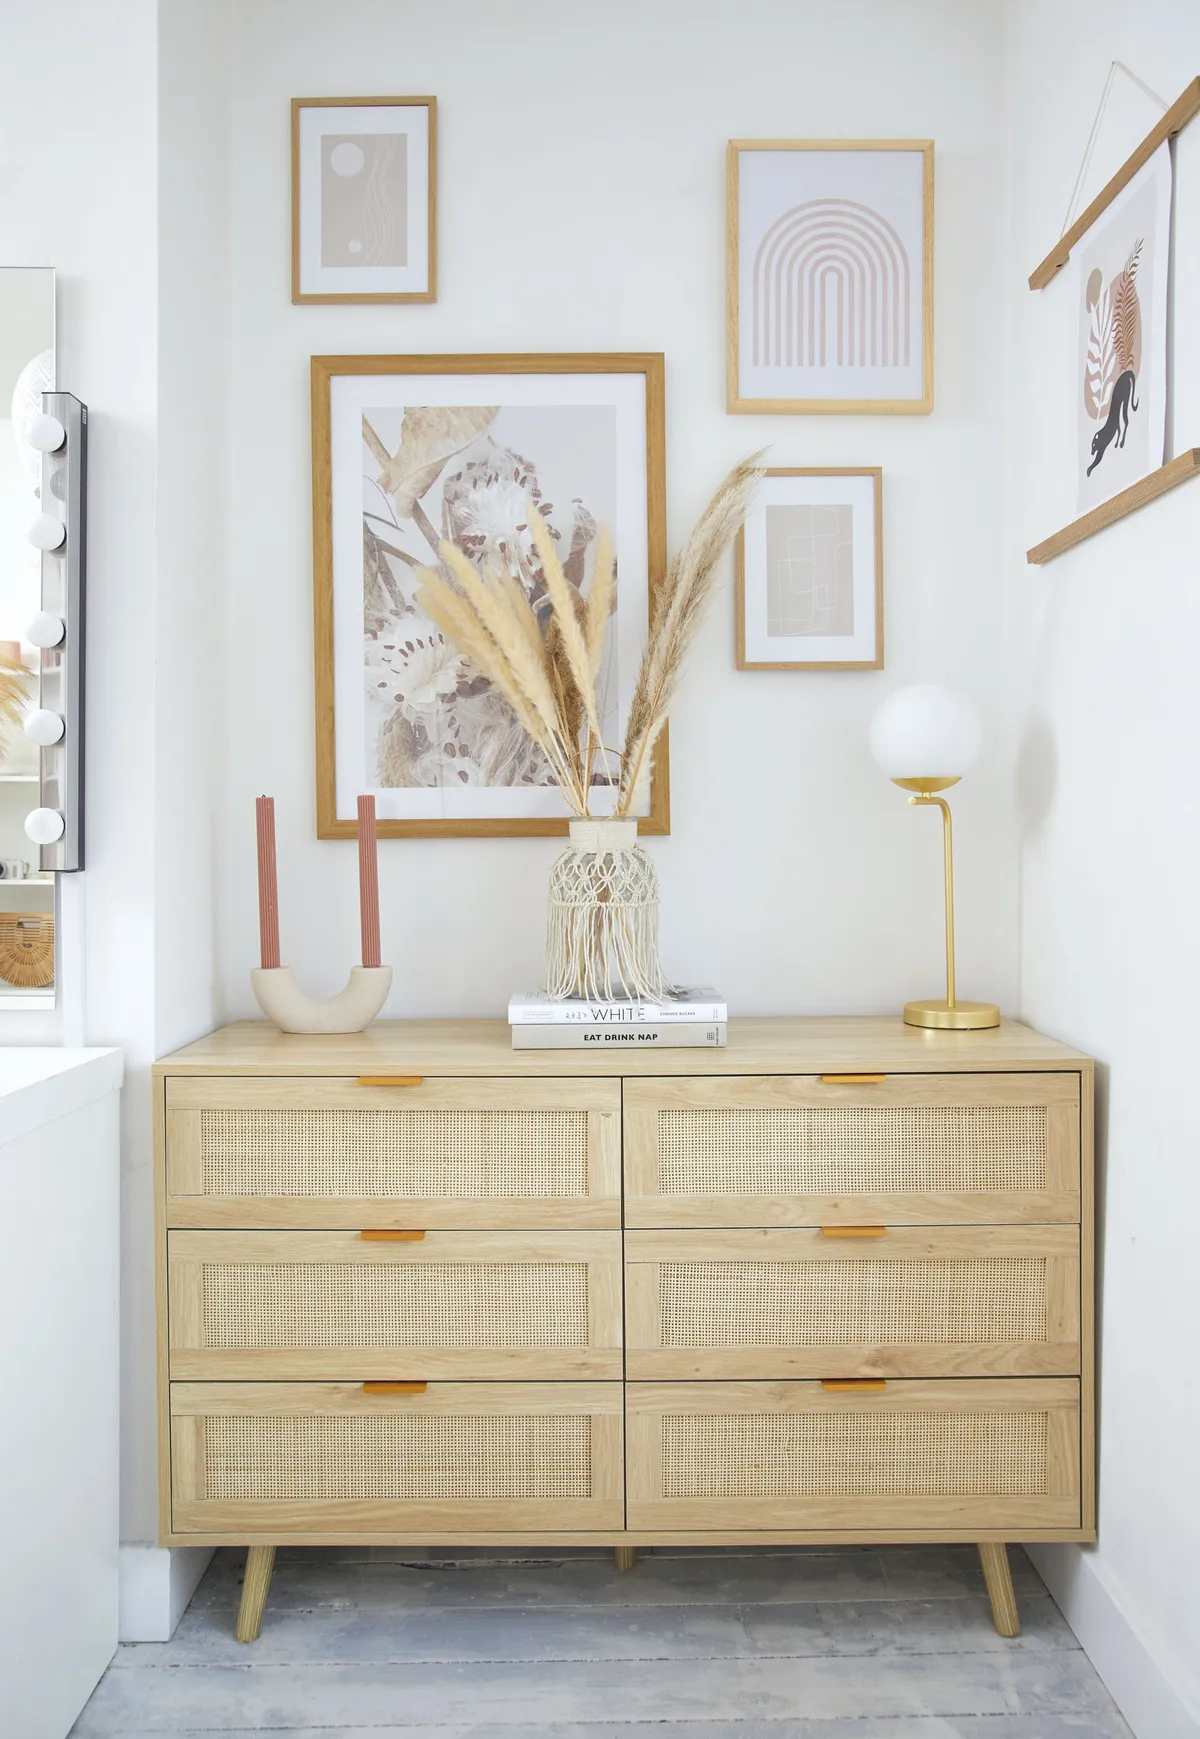
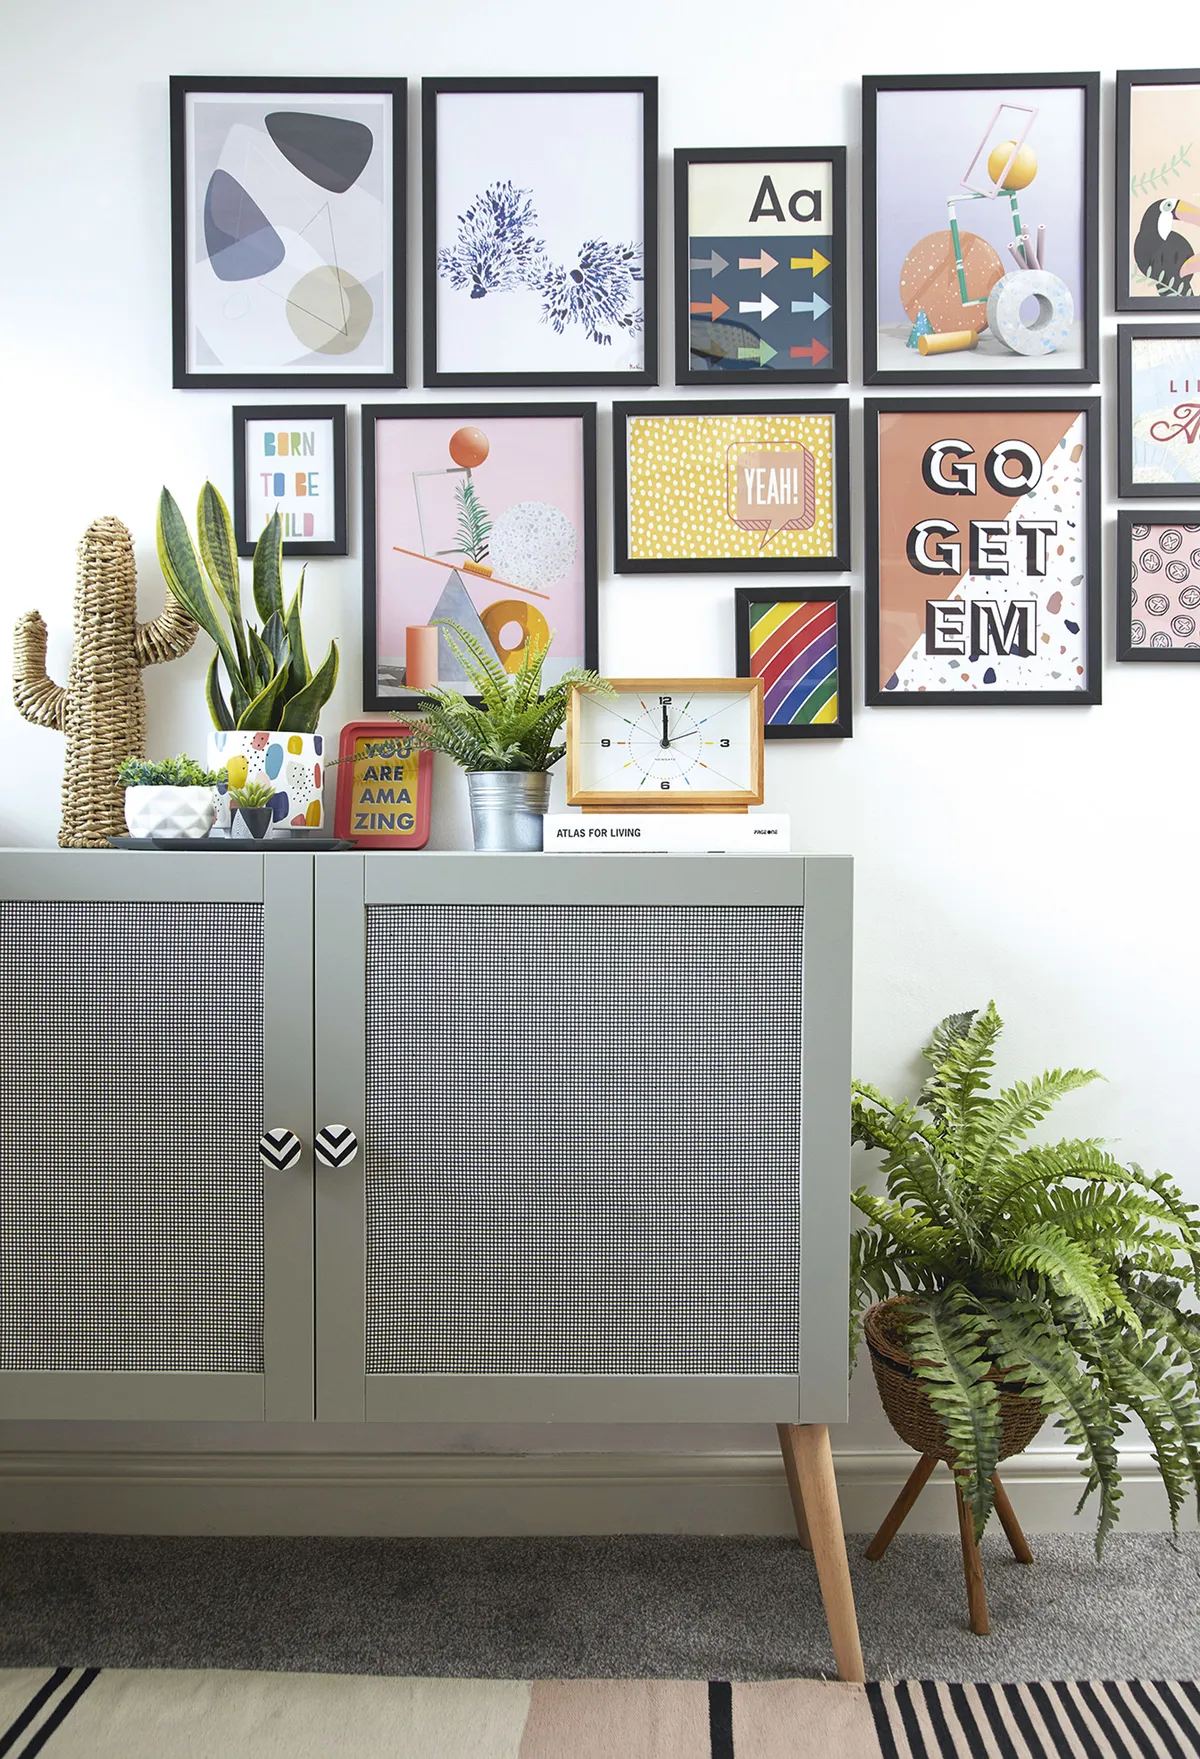
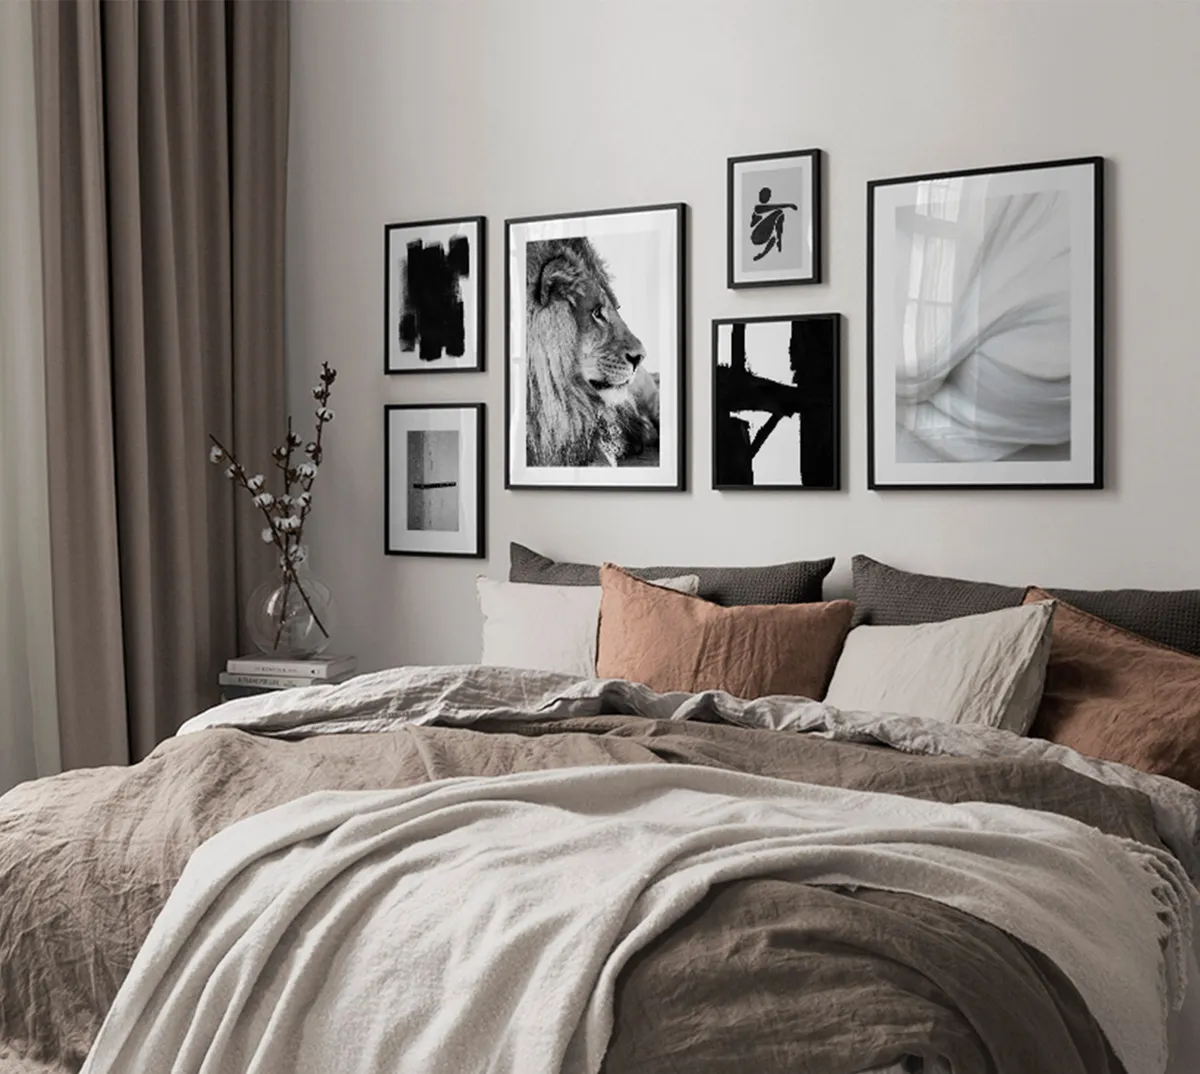
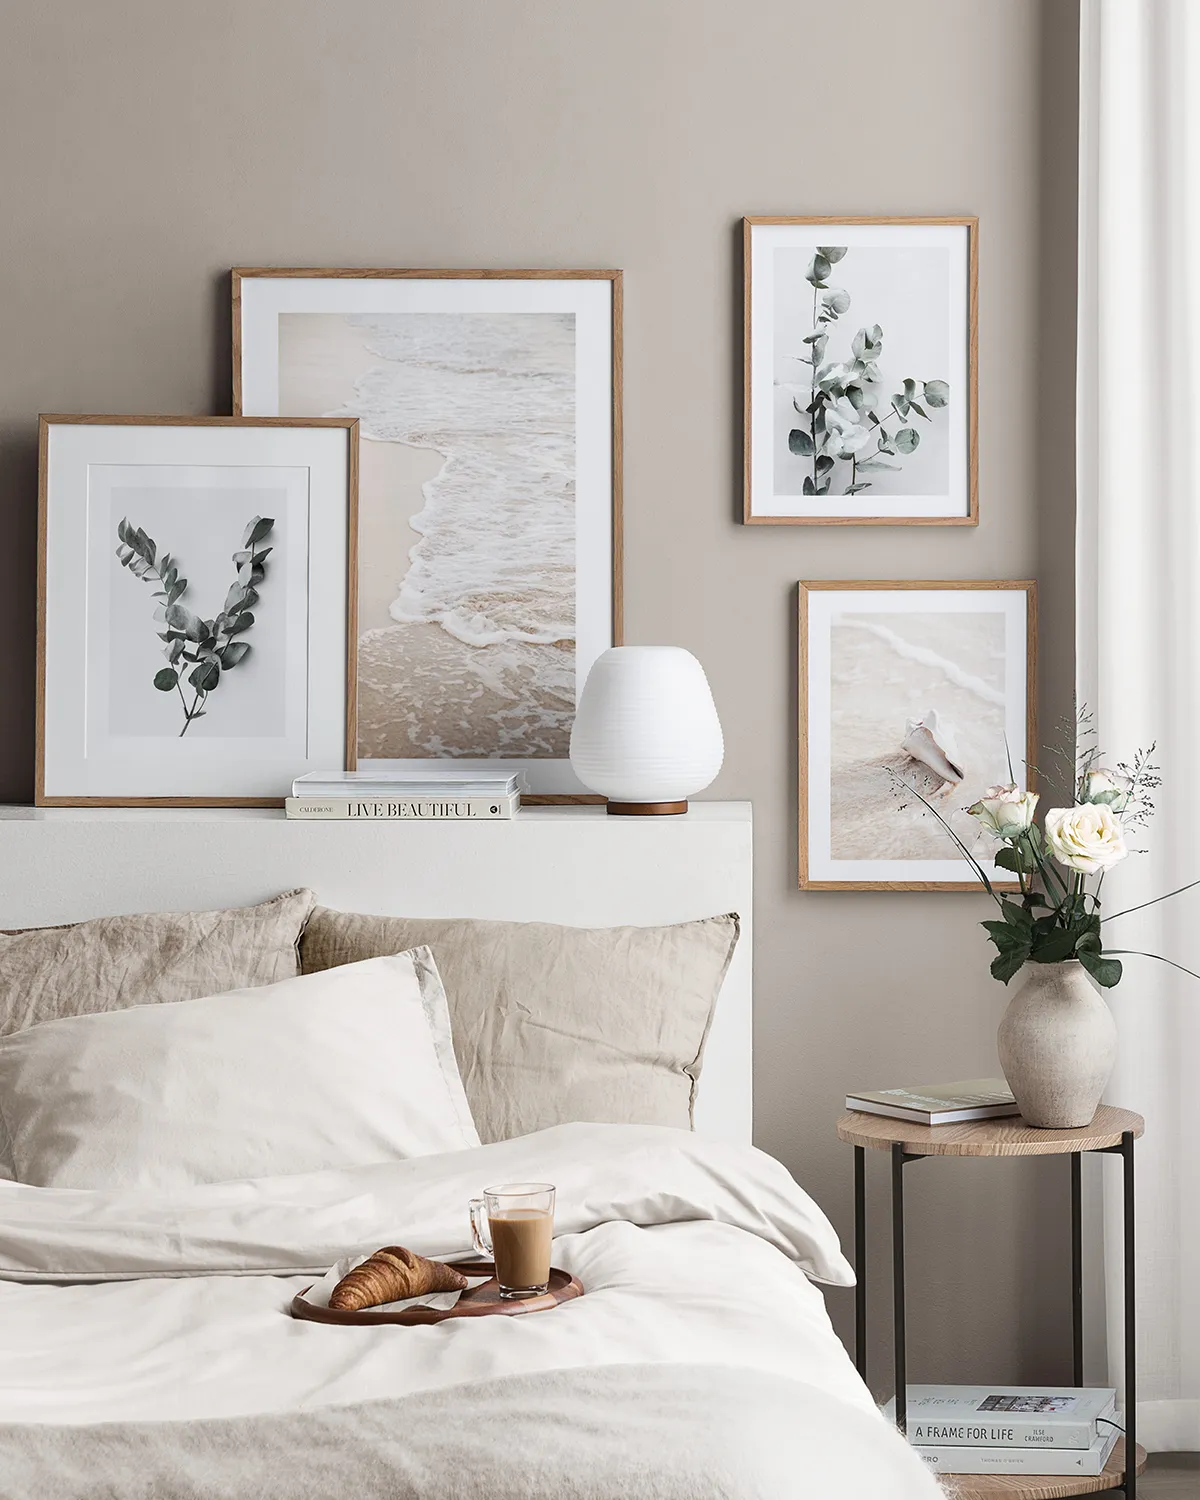
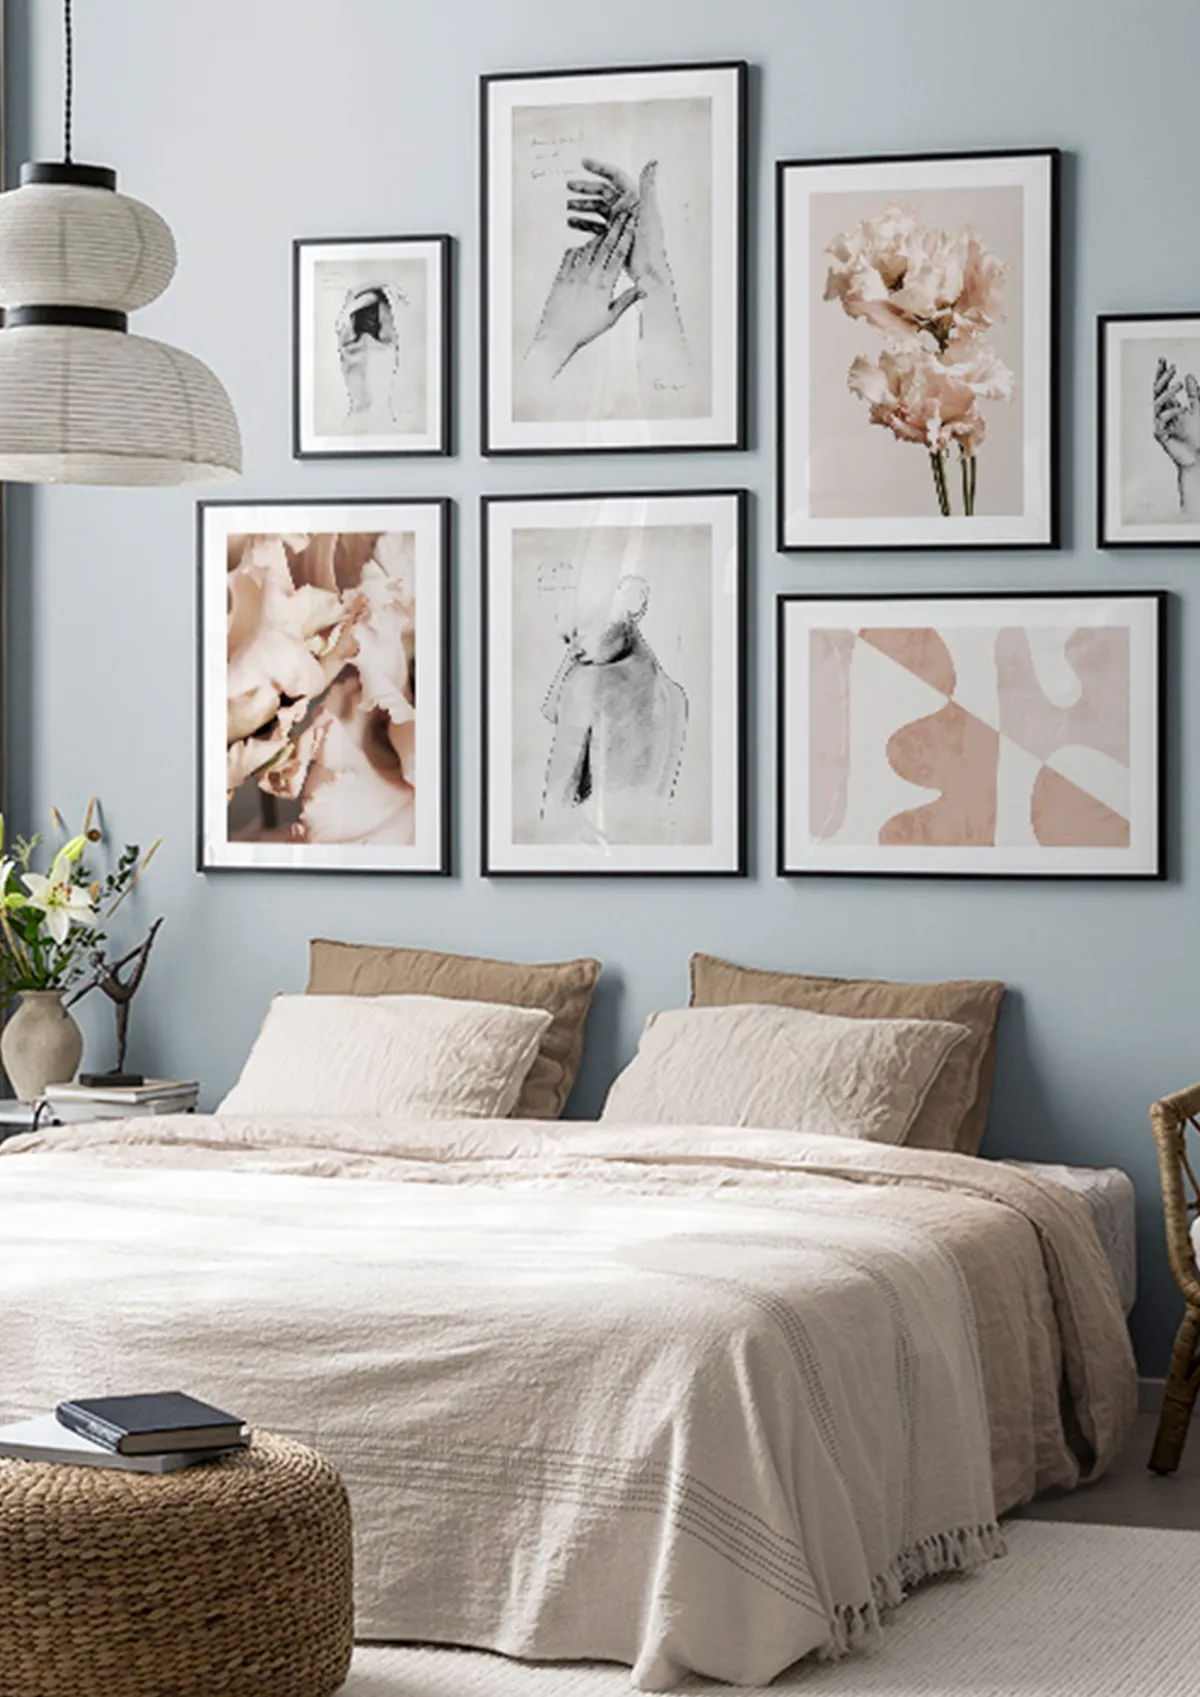
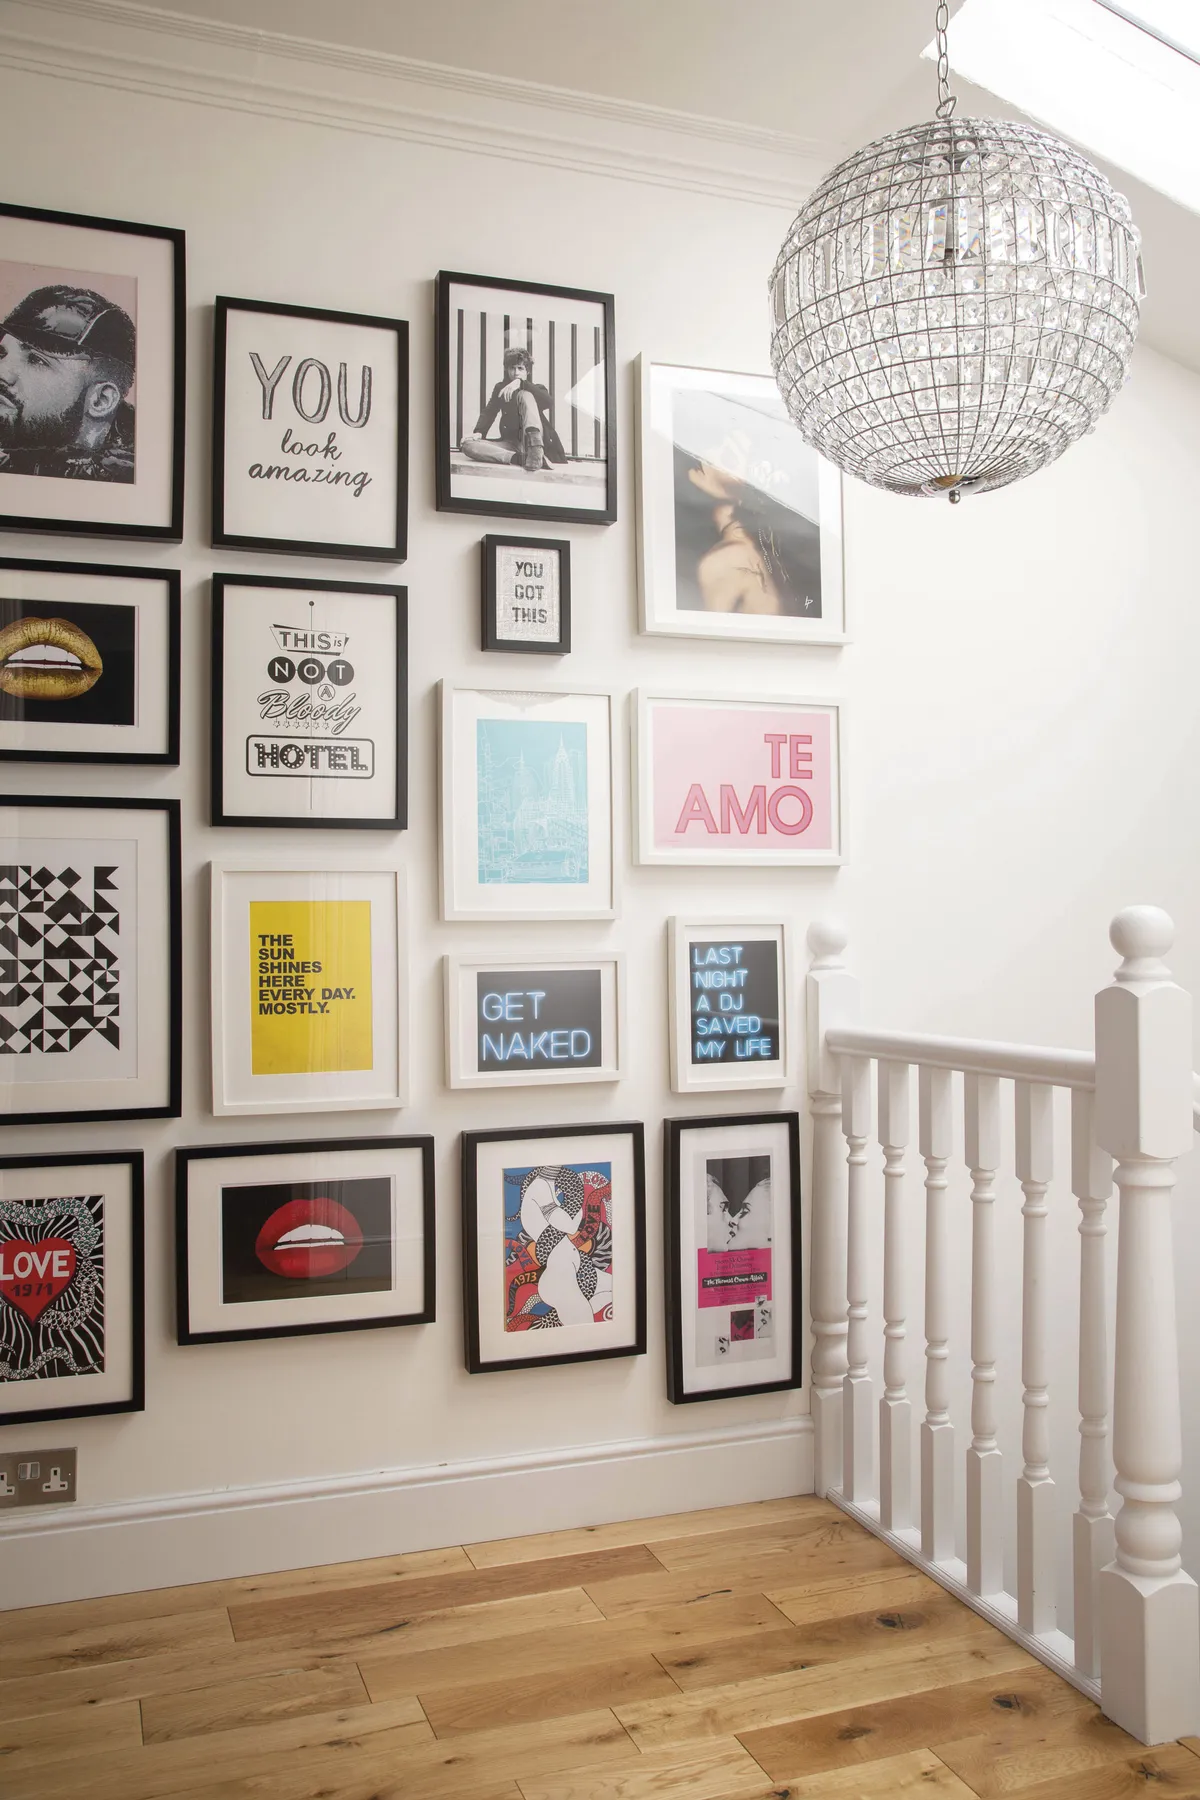
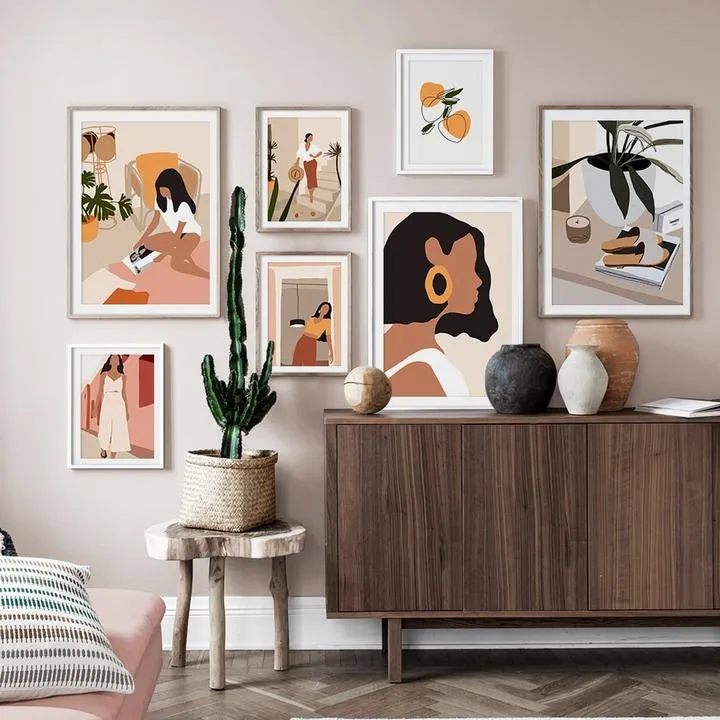
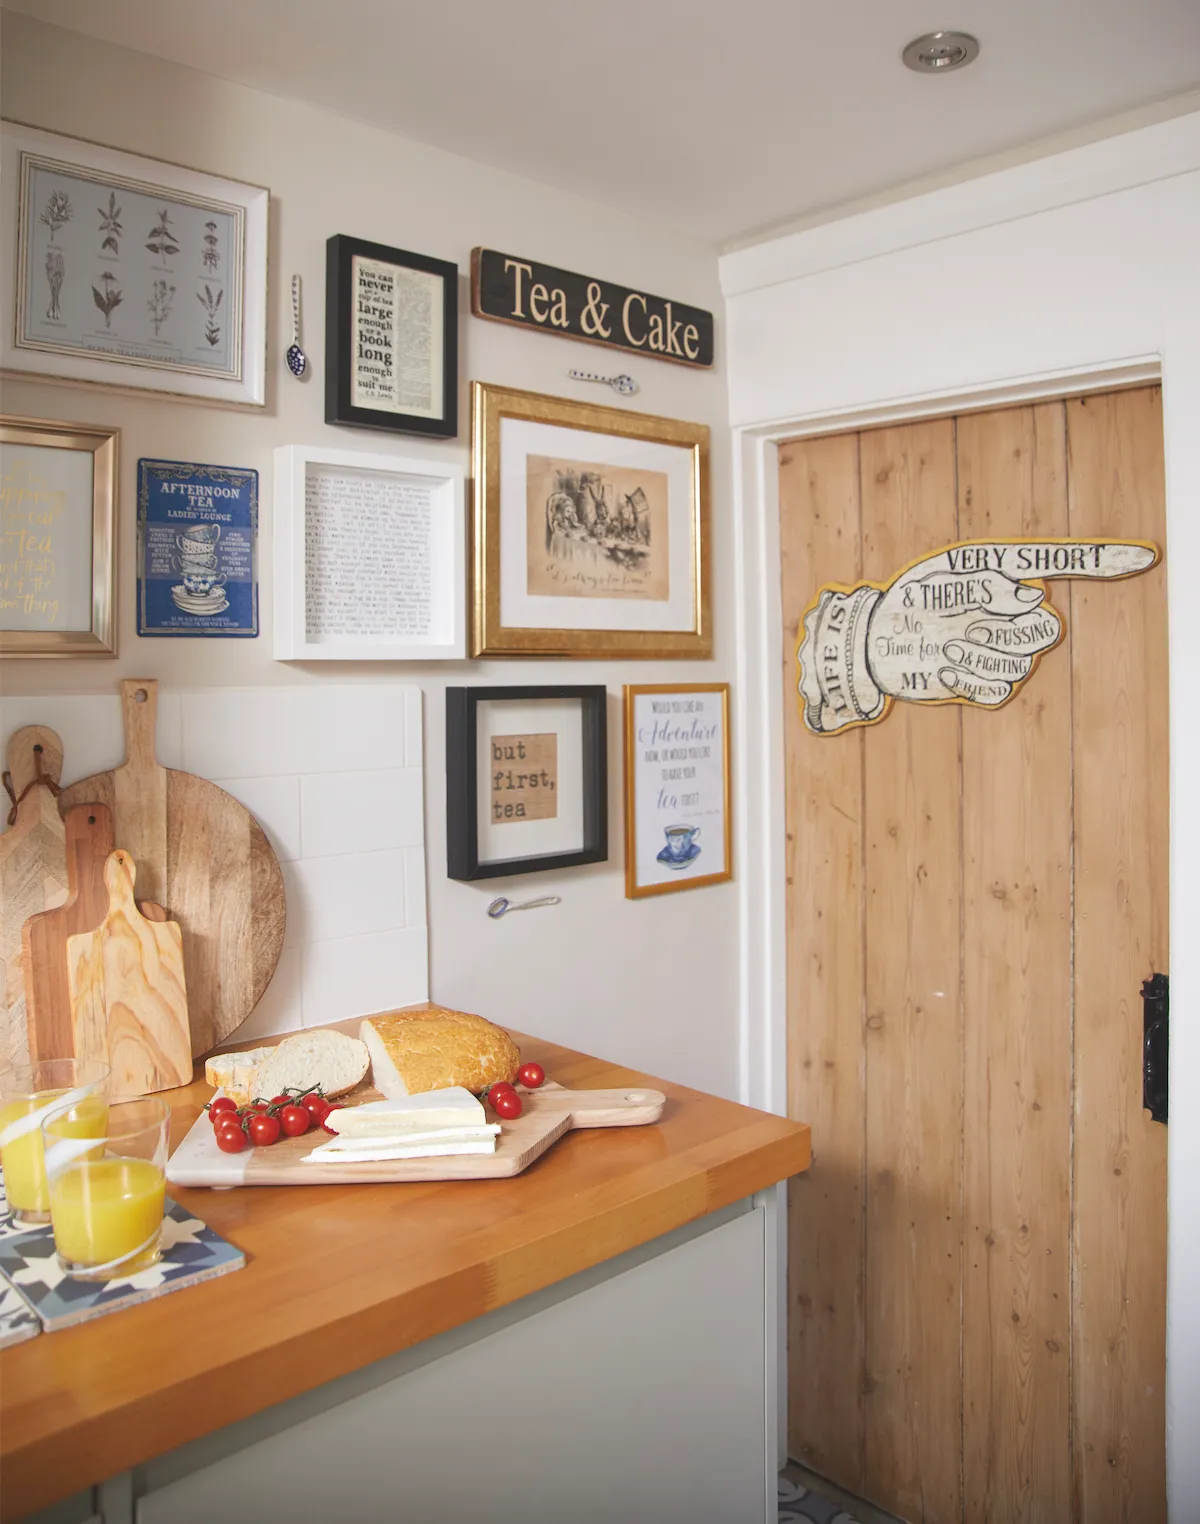
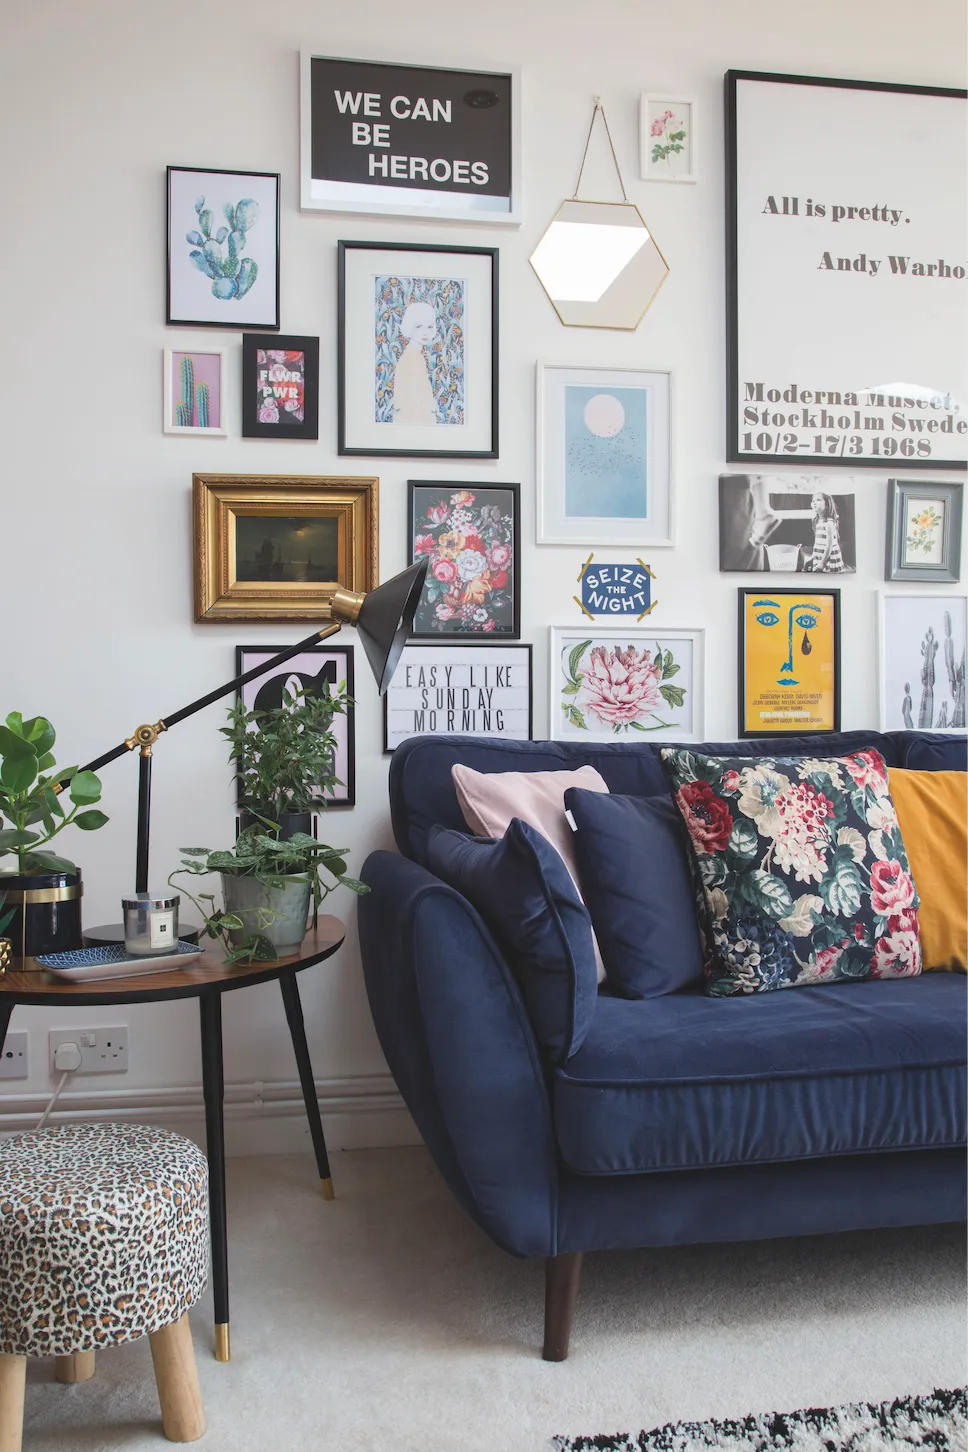
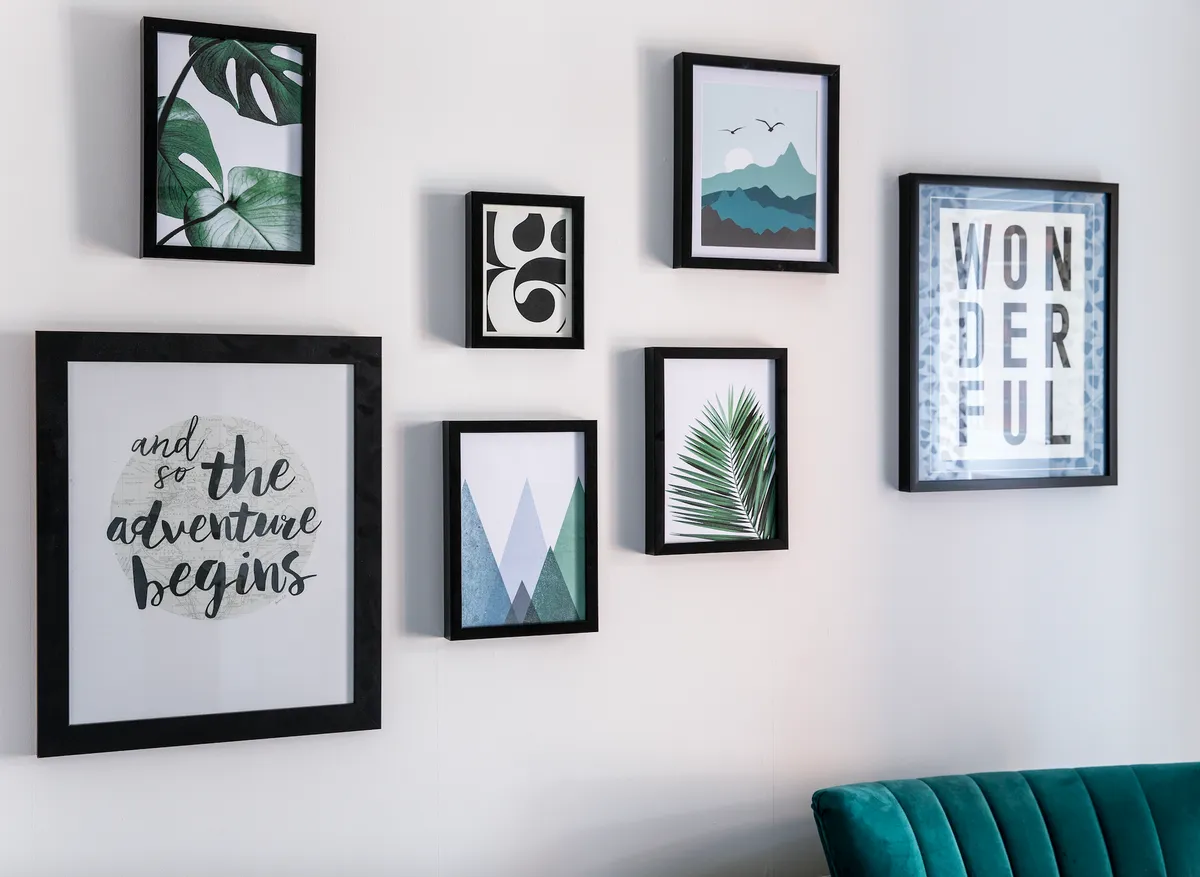
The type of frame you use can make a huge difference to your gallery wall. A light frame will make artwork pop, while black frames create contrast. If you want an eclectic look, mix the style of frames; for a coordinated style, go for similar designs.
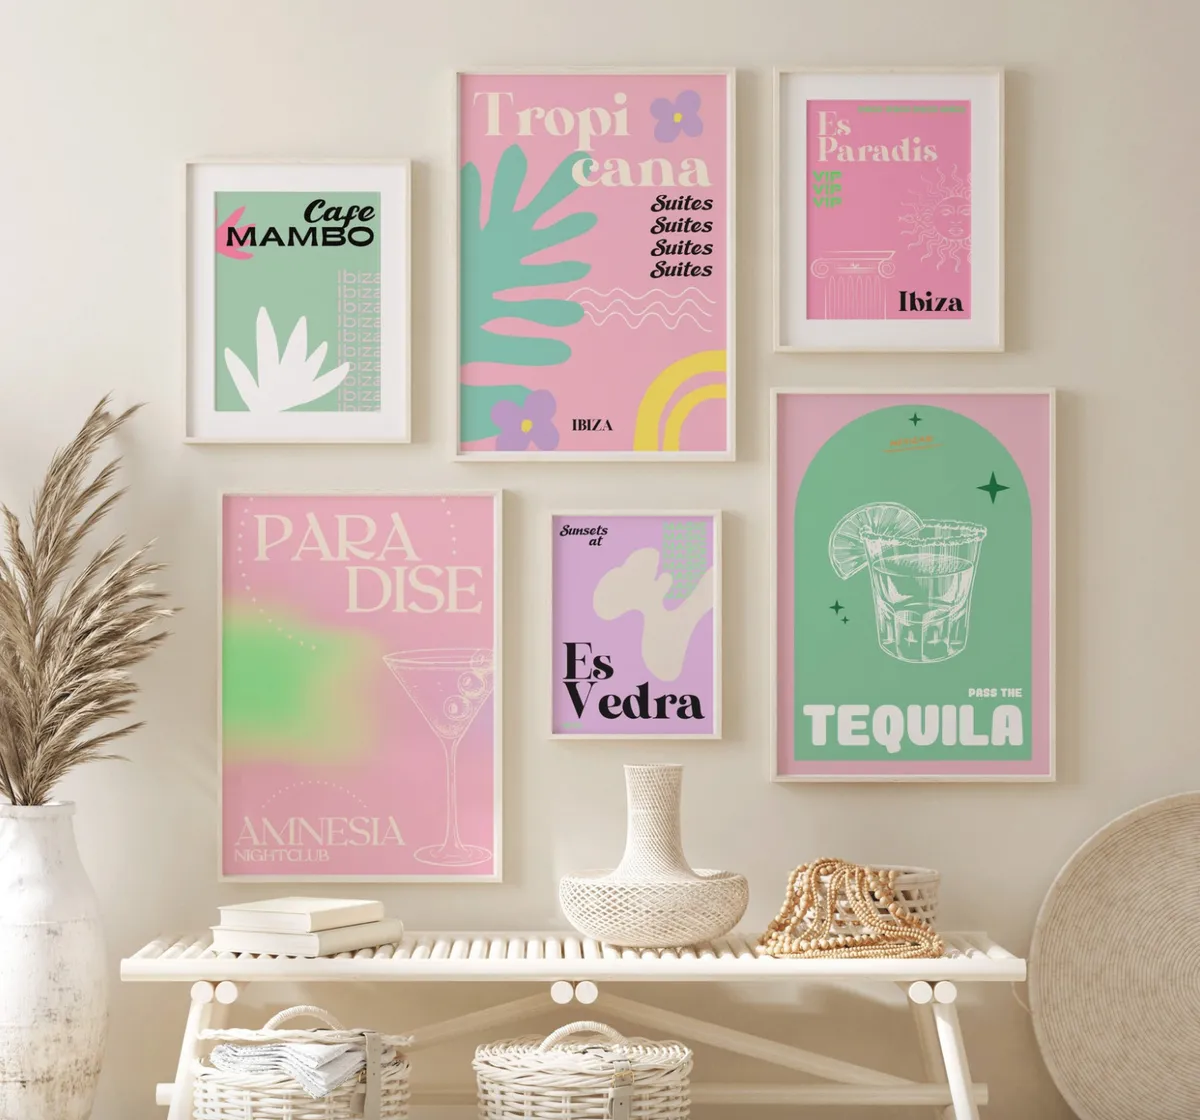
Experiment by placing your pieces on the floor. Focus on balancing the colours and art styles so that all the prints feel evenly mixed. If you have an art print that will be the centrepiece of the gallery wall, start with this and add prints around it.
Take the sheets of paper that come inside of your frames, and use these as a template for planning your layout. Arrange them on your wall using Washi tape so that you can make changes and perfect the look.
A good rule is to place the centre of your gallery wall around 145cm above the floor. If you’re hanging above a bed or sofa, frames should hang at least 15cm above the furniture.
If you’re renting, use Command hooks to secure your display. These will easily peel away when you’re finished with them.
Got a limited budget to spend on wall art? Don't panic as we have 14 ways of sourcing free pictures - or almost free!
If your daunted by using a drill and using wall plugs check out our guide on hanging pictures, shelves, mirrors and cabinets with confidence
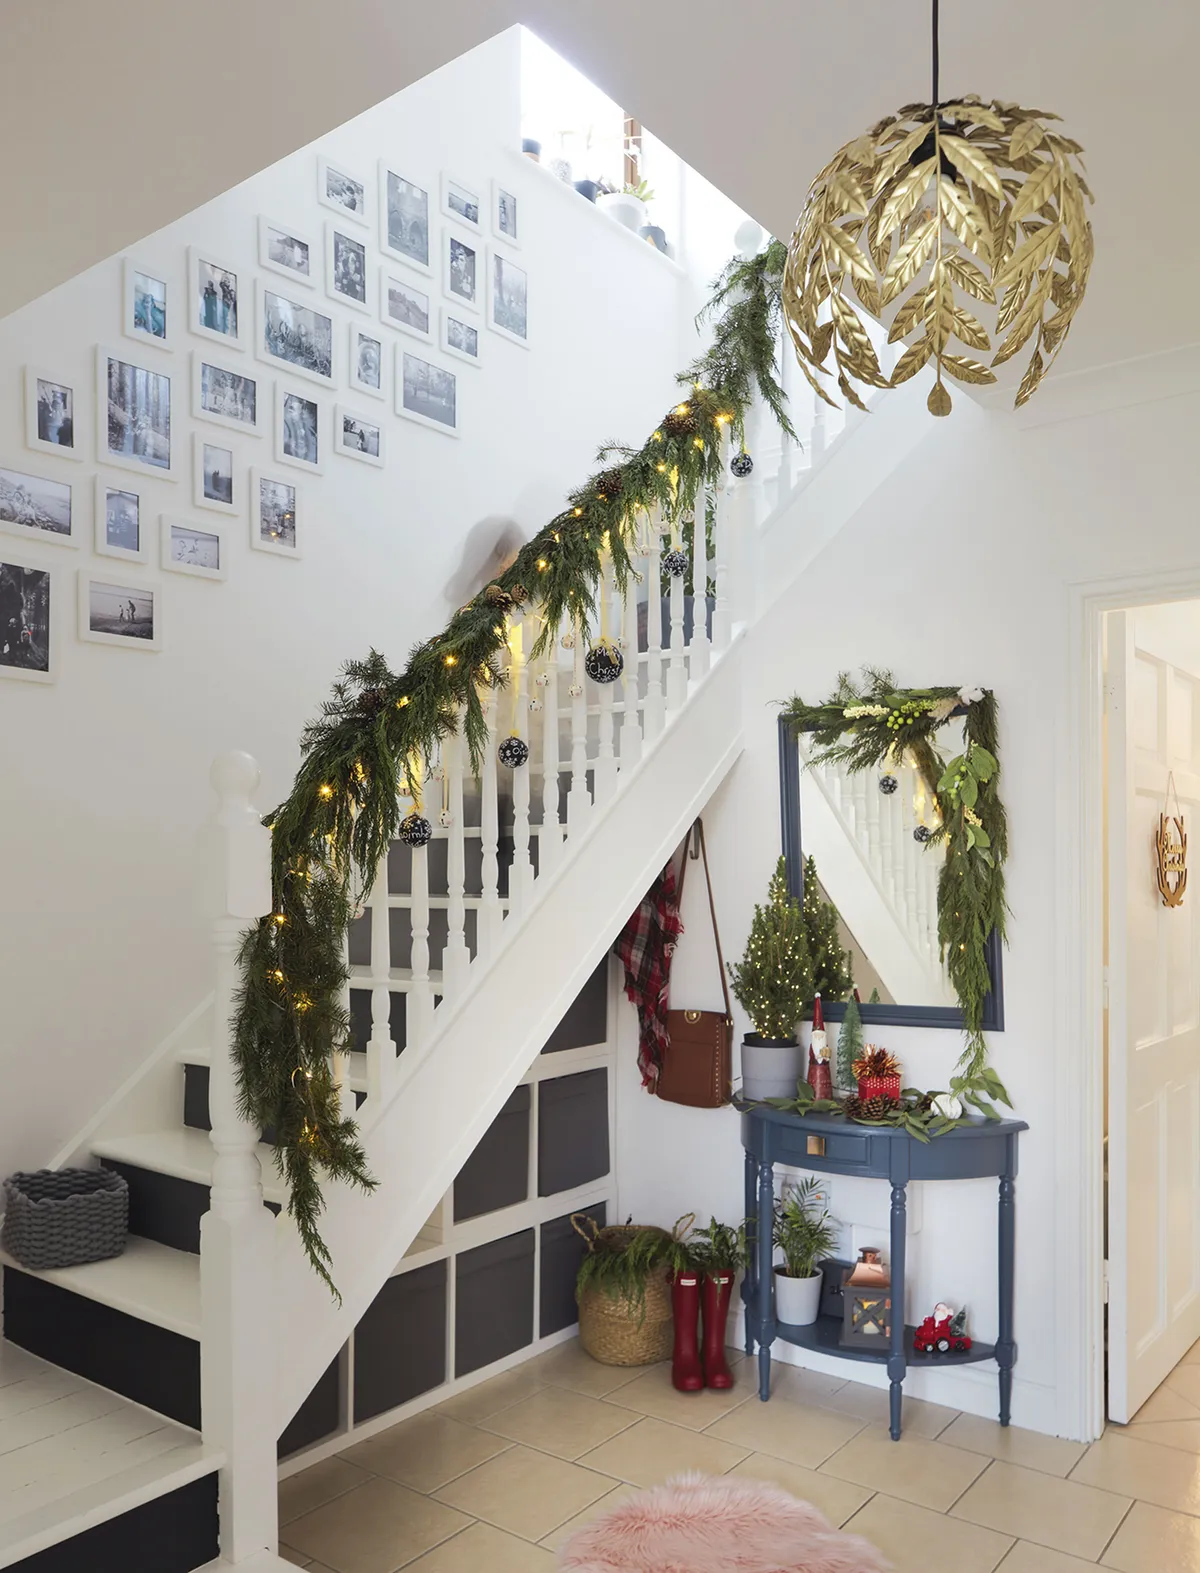
How to create a grid gallery wall
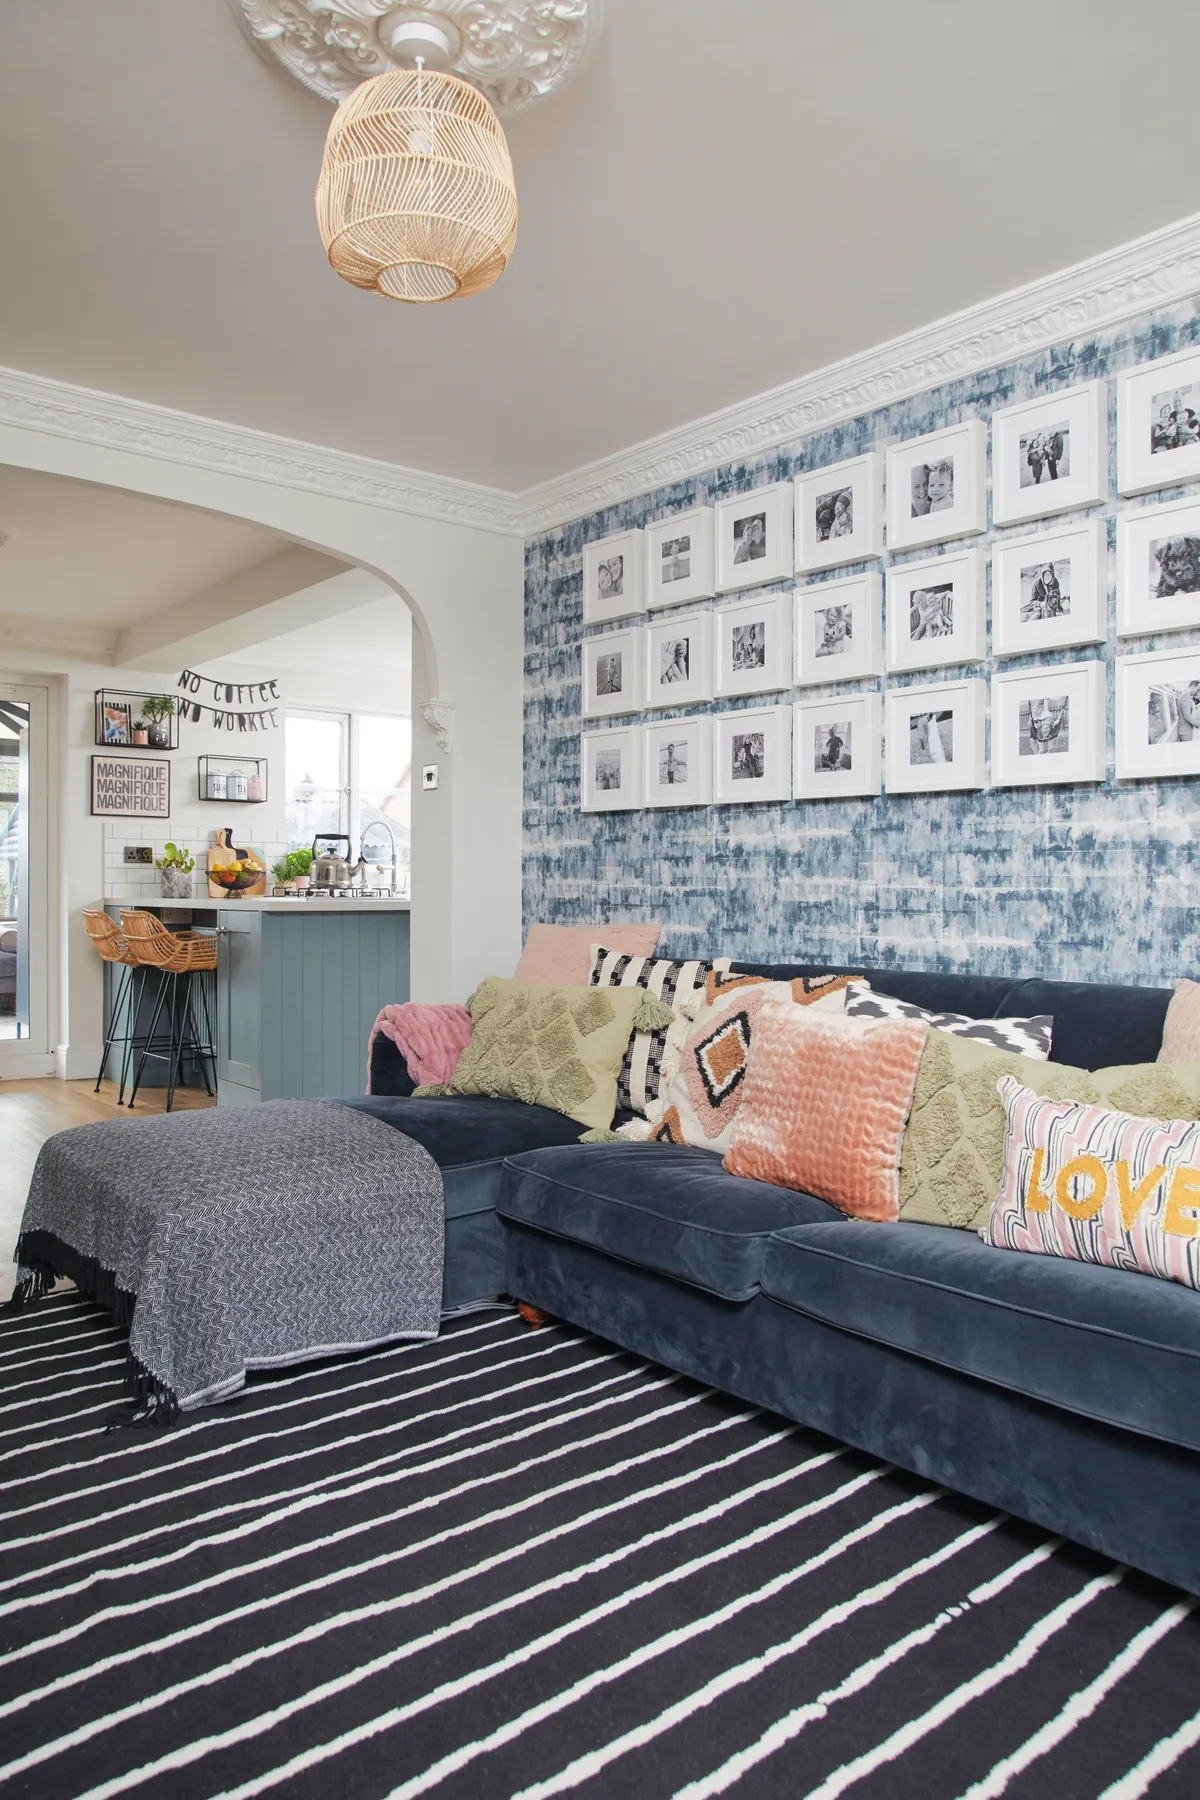
Bring balance and organisation to your display with these tips
- Consider the proportions of the wall and decide on the size and number of photos you want to display. Think about where the furniture is; you don’t want to be brushing your head against the frames every time you sit down.
- Attach picture hanging strips on the back of each frame. Decide how far apart you want each print to be; most picture grids tend to have between 2.5cm and 6cm between each one.
- Measure and add together the width and height of all of your frames, and add the distance you want between each frame, to get the total size of the grid.
- Mark out your total measurement onto the area you want to fill. Use masking tape to help. Place your first frame in the top corner of your grid, using a spirit level to make sure its straight. Mark where the next picture should be, and repeat.
Gallery wall ideas and inspiration