
The ability to put screws in a wall is something all homeowners should have – especially those of us that like to change things up every now and then. While it may be tempting to call in a DIY-savvy friend, the truth is that you’ll get so much more satisfaction from having done it yourself. Learn how with our step-by-step guide, tips and advice.
What you need to put screws in walls
Essential
- Power drill
- masonry drill bits
- wall plugs
- screws
- tape measurescrewdriver
- stud and cable detector
Useful
- tape
- spirit level
- sand paper
lfiller - putty knife
- hammer
Why do you need wall plugs?
So why do you need to use wall plugs? A screw’s raised threads burrow into softer materials like wood, getting a good grip – this is why you don’t need to use a plug to screw into a wooden stud. However, in solid and plasterboard walls, which are more brittle, a bare screw would quickly come loose when holding any weight. Wall plugs are usually made from slightly flexible plastic or metal that can be pushed into a drilled hole with a small amount of wiggle room. When the screw is driven into it, the plug expands and creates a tight fit, gripping the screw securely in place.
What size drill bits, plugs and screws do I need and how do I choose the right combination?
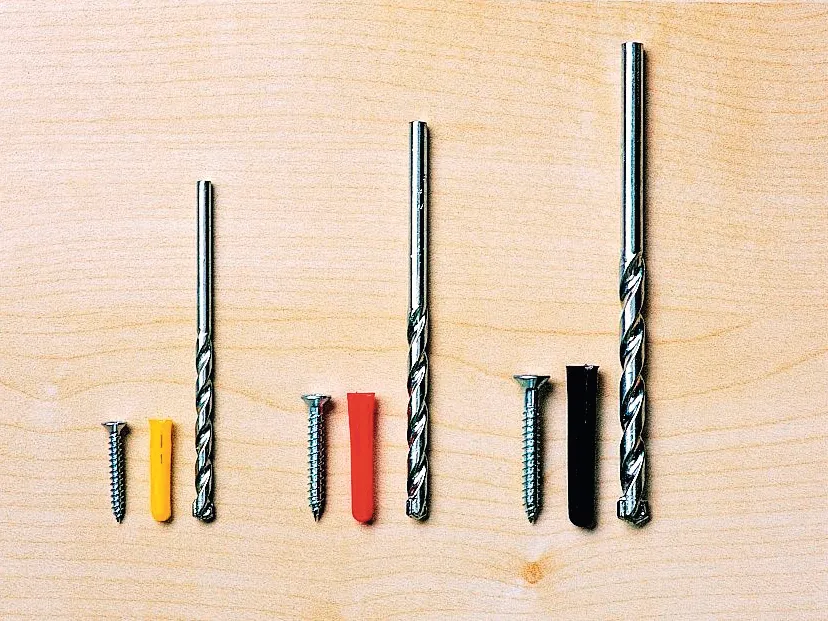
- First, find out what type of wall you’re planning to mount on. Knock on the surface: a solid wall will make a dull thud but if it sounds hollow, it’s plasterboard. Universal plugs are fine in solid walls and for very light loads on hollow ones, but you should use the right kind. General-purpose plasterboard fixings are suitable for hanging light to medium weight objects while intercept fixings and spring anchors will hold up heavier loads.
- If your product came with suitable fixings, these will be fine to use, but otherwise you’ll need to select a screw, wall plug and drill bit that are all compatible. There are so many styles and materials of screws but for the majority of indoor mounting jobs, steel wood screws will be suitable.
- The screw packaging will have the gauge and length of the screw written on it, e.g. 5 x 60mm means that the gauge is 5mm and the length from head to tip is 60mm. It’s a good idea to use the widest-gauge screw that will fit through the pre-drilled holes of the item you’re hanging but the most important factor is the length. Short screws are fine for light objects such as picture frames but heavier objects such as shelves will require longer screws. It’s always better to be safe than sorry and use a longer screw than might be necessary.
- Match the wall plug to the screw gauge. There will be a size guide written on the packaging of the plug but you can double-check by twisting a screw into a plug. It should be a snug fit but not need to be forced through. The right size of drill bit will also be noted on the plug packaging but if you’re unsure, drill a test hole on a scrap piece of material or thick cardboard and check the fit. Some manufacturers colour code the sizes of their plastic wall plugs, but this isn’t standardised so always double check.
- Measure and plan out where you need to put the screws, marking the spot with a cross. Use a spirit level and always double check your measurements – it takes less time than having to fill a hole and starting over.
How to put screws into walls
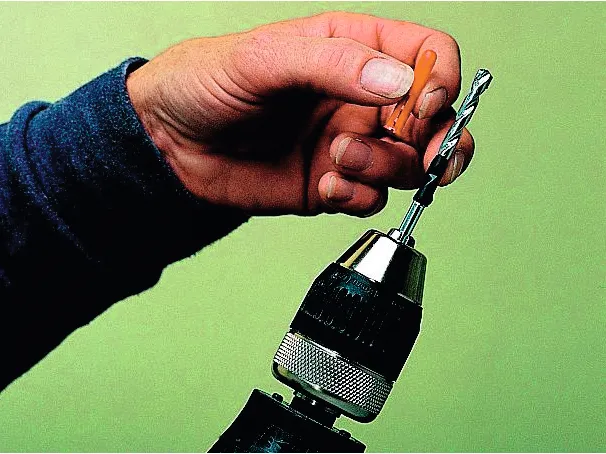
Place either the plug or screw, whichever is longer, beside the drill bit and use tape to mark off the length from the tip. Use this as a guideline so that you don’t drill deeper than necessary. You won’t need to do this if you’re working on plasterboard, simply drill through it.
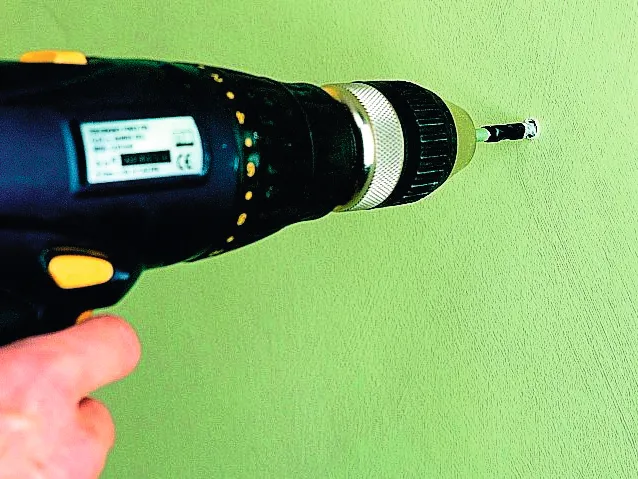
Place the tip of the drill on the centre of a marking cross and very lightly squeeze the trigger to make the initial indentation. Keeping the drill bit square and steady, increase the speed and press the drill bit into the wall until you have drilled to the depth needed. If drilling into brick or concrete, a drill with hammer action will make this easier but be sure to start off with the normal drill function for neat results.
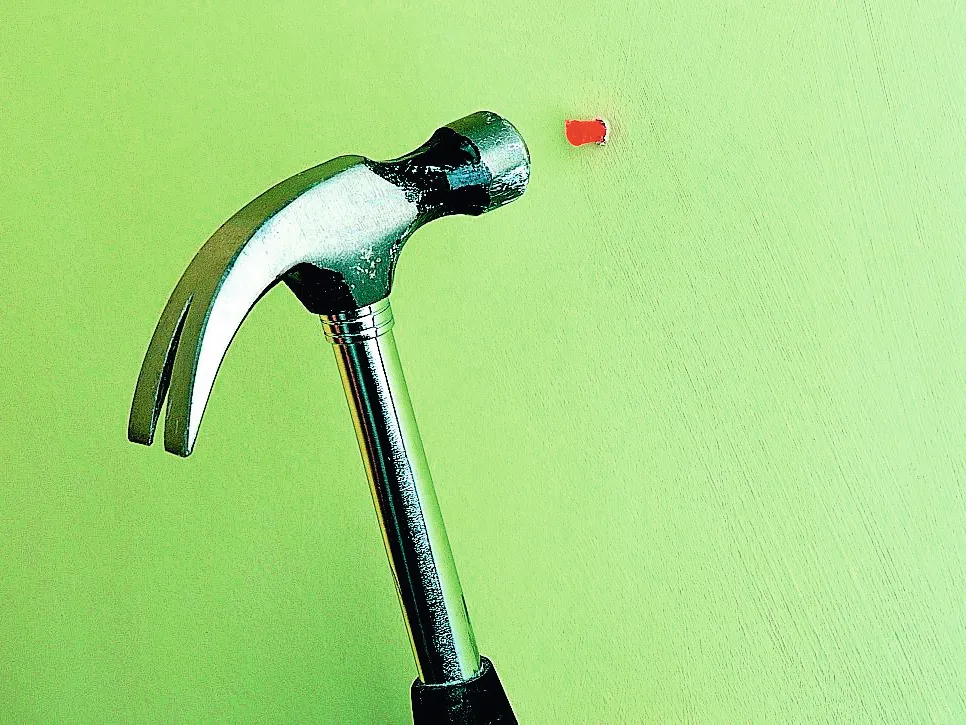
Insert the plug into the hole. You’ll know it’s the perfect fit when you can push the plug into the wall, only needing a hammer to make it flush with the wall. The plug shouldn’t bend or feel too loose. At this point, you might like to hold the item you’re hanging in place and double check the accuracy of your markings, using a spirit level, before moving on.
Once all of the wall plugs are in place, position the item you’re mounting and insert the screw through the pre-drilled hole and into the wall plug. A screwdriver will be fine but if you have a compatible screwdriver head for your drill, it will make quicker work of the job. Don’t over-tighten the screws as this could loosen the plug.
Always follow manufacturer’s hanging instructions
Never drill into a wall without first checking for hidden pipes and cables with a
multi-detector tool.
How to remove wall plugs
Removing nylon plugs is very simple. Using a smaller screw, insert it by just a few turns so that the plug won’t expand and grip. Next, use the back of a claw hammer or a pair of pliers to pull the screw out of the wall and the plug should come away with it. If you have an offcut of wood, drill a hole big enough for the plug to fit through and hold this over the area to protect delicate plasterboard.
n To remove metal anchors, slip a pair of needle nose pliers under the collar of the anchor and pry it away from the wall. Continue around the collar until there is enough raised for you to grab (a bigger pair of pliers will make this easier) and wiggle and twist until the collar snaps off. Use a screwdriver to push the internal part of the anchor inside the wall.
To patch up holes left behind by both types of plug, sand away any loose material around the hole, wipe away the dust with
a damp cloth and press filler into the hole. Once it’s dry, lightly sand it smooth, wipe again and then touch up the paint for a good-as-new wall.
For more DIY advice, tips and inspiration check out our DIY section
Top image: Kallax four-cube shelving unit in white, £40 each, IKEA
Step-by-step images: B&Q
