Step 1
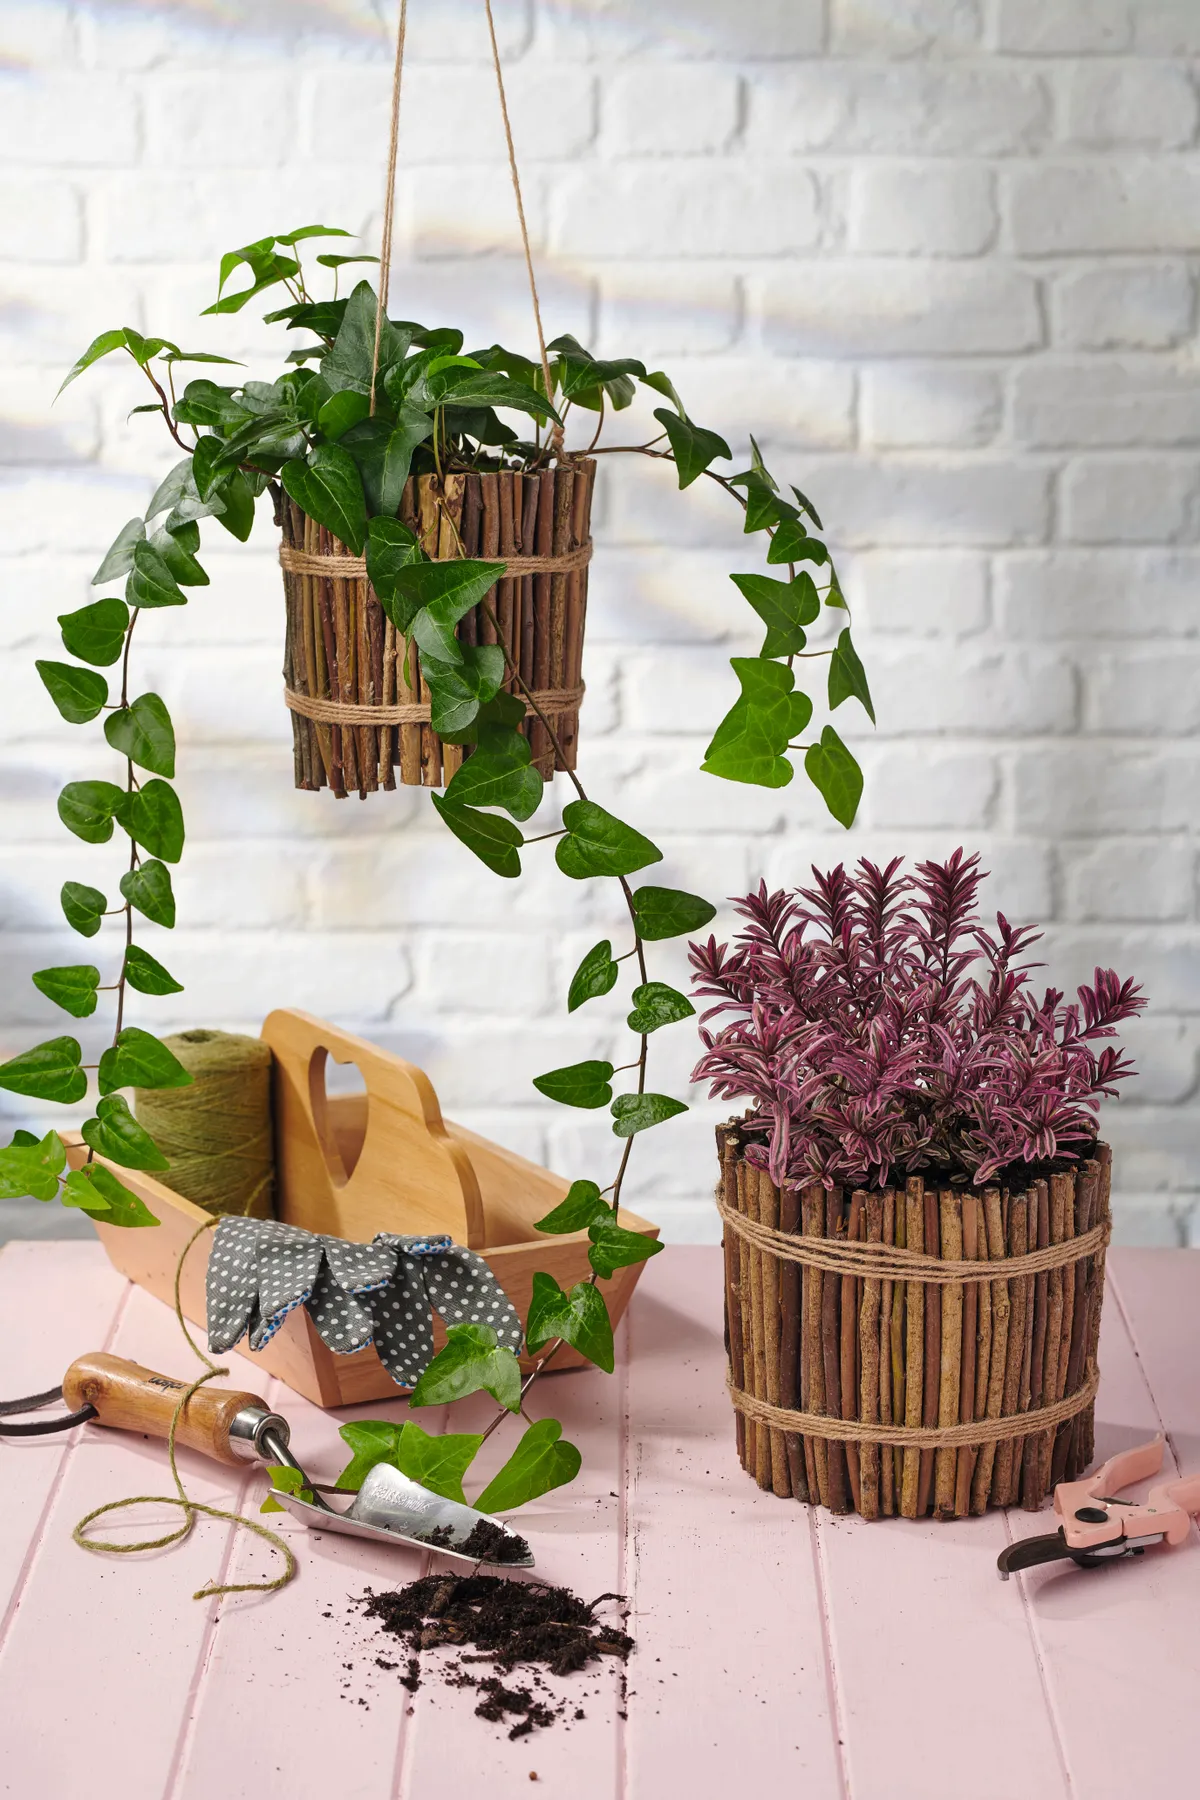
To make the floor planter, clean the pot all over with a damp cloth or sponge and leave it to dry thoroughly.
Step 2
Go through your twigs to find ones that are relatively straight and about the same thickness. Measure the height of your planter, then use sharp garden shears or secateurs to trim the twigs so they’re about 1cm longer.
Step 3
Using a glue gun, attach the twigs to the outside of the planter. Work your way all the way around the planter, butting each twig up against the previous twig as tightly as you can. If you’re left with any gaps, fill them using smaller shoots and twigs, until the entire outside of the planter is covered.
Step 4
Measure the circumference of the twig-covered planter and multiply it by five. Cut two lengths of jute twine to this length, then wrap each length around the outside of the planter four times. Secure each one by tying them off, ensuring both knots sit on the same side of the planter. Straighten the twine wraps out, then trim any excess from the ties to finish.
Step 5
To make the hanging planter, turn the planter upside down and drill three drainage holes in the bottom. Turn the pot right side up, then measure and mark out three equally spaced points around the planter, around 2cm down from the top. Drill through each of the three points. Then clean the planter inside and out using a damp cloth or sponge and leave it to dry thoroughly.
Step 6
Go through the twigs to find straight-ish ones of the same thickness, then measure the height of your planter and use garden shears or secateurs to trim the twigs so they’re about 3cm longer. Using a glue gun, attach the twigs around the outside of the pot, leaving a 1.5cm overlap at the top and bottom. Continue until the planter is covered.
Step 7
Measure the circumference of the twig-covered planter and multiply it by five. Cut two lengths of jute twine to this length, then wrap each one around the outside four times. Secure the wraps with double knots, ensuring both sit on the same side of the planter. Straighten the twine wraps, and trim any excess.
Step 8
Cut three 1m lengths of twine and thread each one through the holes you drilled in the side of the planter in Step 5. Knot each end to secure, then tie all three strings together at the top so the planter can be hung from a hook.