
If you're seeking something durable, easy-to-clean and attractive for your home, then both laminate and engineered wood flooring make the perfect choice. Available in a large variety of styles, there is something for all interiors, from contemporary kitchens to traditional living rooms.
We've put together a simple step-by-step guide to installing your own laminate or engineered wood flooring. Before you get started, you'll need to decide which option is right for you and calculate your floor space - then you're ready to get started!
Laminate flooring vs. wood-engineered
Laminate is made from compressed wood fibres, with a high-resolution wood-effect image on the surface, topped by a protective resin. Laminate flooring can be a very affordable option, often cheaper than engineered wood - however, the more you pay, the more hardwearing and realistic-looking the product.
It comes in different thicknesses, called AC ratings, depending on the durability required. For instance, you might choose AC3 for a bedroom or AC5 for a busy hallway. It's important to bear in mind that while laminate can be lightly mopped, it's not suitable for high-moisture environments, such as bathrooms, which can cause the floor to swell and warp.
Engineered wood is made up of many layers, topped with a layer of real hardwood. This gives the floor a natural look, while the multiple layers beneath means it’s stable and less prone to shrinking or warping with changes in environmental conditions - but, like laminate, it should still be avoided in high humidity environments.
Engineered wood flooring uses less hardwood than a solid floor, so if you're looking for a more unusual species, such as ash, maple, or walnut, you are more likely to find them in an engineered floor. The hardwood top layer can have a brushed finish to show off the texture of the grain or be sanded smooth for a clean and sophisticated look.
Don't forget! Once you've bought your new flooring, it's important to let it acclimatise in the room. Remove any packaging and leave the planks for a minimum of 48 hours before installation for laminate and seven days for engineered wood.
What flooring will make a room look bigger?
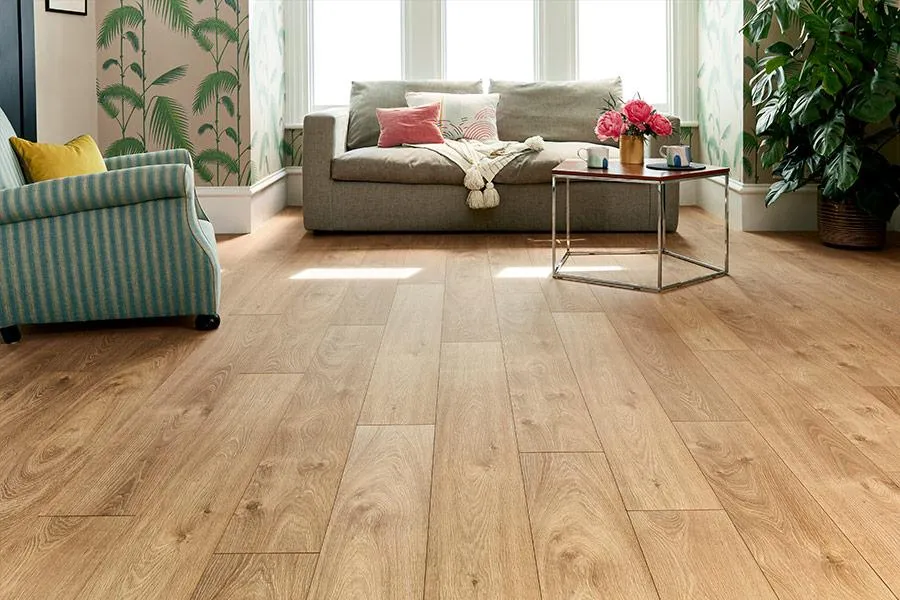
There are a few tricks you can do with laminate or engineered wood flooring to make the most of a small space. Look for lighter coloured flooring, think light natural tones such as light oak, natural oak or smoked oak, whitewashed or pale grey wood-effect. These soft, neutral colours will help to open up your space and give it an airy feel.
When it comes to installation, ensuring that the planks run parallel with the longest side of your room will instantly make your room look bigger. This technique helps to draw the eye and create the illusion of lengthening the space. If you’re updating several rooms at once, choose the same flooring throughout to allow for consistency and an open-plan feel.
Installing wider planks, keeping the floor fuss-free and reducing the amount of join lines will also help to encourage a spacious feel, even in a compact home.
Can I use laminate in my kitchen and bathroom?
If you're planning to take laminate flooring from an open-plan living space into your kitchen or bathroom, look for water-resistant or waterproof laminate flooring to ensure it stays in top condition.
How to measure the size of your room
To understand the total cost of a new floor, the first thing you will need to do is work out how much space it needs to cover by measuring your room in m². Howe you do this depends on the layout of your room.
Rectangular rooms can be calculated easily by simply multiplying the length (in metres) by the width. If your room is L-shaped, has alcoves or bay windows, it may initially look daunting, but all you need to do is divide your room into separate rectangles. Once you’ve done that, add the size of the rectangles together to come to your final quantity.
Don't forget! Add at least 10 per cent to your final measurement to allow for any wastage that comes from trimming and awkward layouts.
Where to buy laminate flooring
Here are our favourite places to buy laminate flooring:
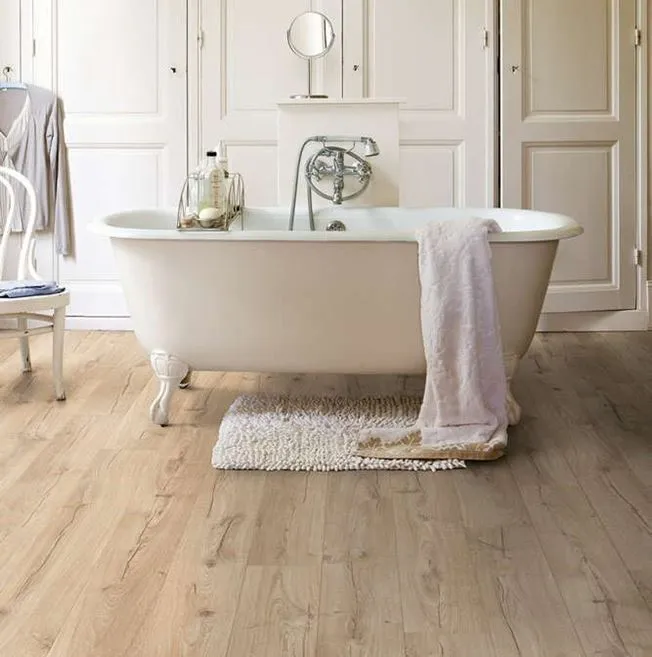
- B&Q - over 100 products to choose from, including Quick-step Aquanto Classic Beige Oak Effect Laminate Flooring (pictured) for bathrooms
- UK Flooring Direct - over 50 types of laminate, including Series Woods Professional Laminate Flooring in Smoked Oak (pictured)
- Wickes - over 70 styles of laminate and engineered wood
- Flooring Superstore - be inspired by over 100 products
- Direct Wood Flooring - browse over 100 products
- Homebase - offers a collection of over 25 products
Ready to get started? Read on for our easy guide to installation:
You will need
- Essential
- Jigsaw or handsaw
- Hammer or mallet
- Tape measure
- Pencil
- Pull bar
- Combination square
- Spacing wedges
- Tapping block
