This Interior Design Masters contestant used the most ingenious IKEA hack in her own kitchen
Kate Hewitt has a real knack for DIY, and we're excited to see her put her skills to the test on Series 7 of Interior Design Masters, which kicked off last night!
We recently had the pleasure of talking to Kate about how she transformed her kitchen by getting creative with clever IKEA hacks. Read on to learn all about her kitchen makeover experience.
Kate's makeover story
Step inside...
Who lives here
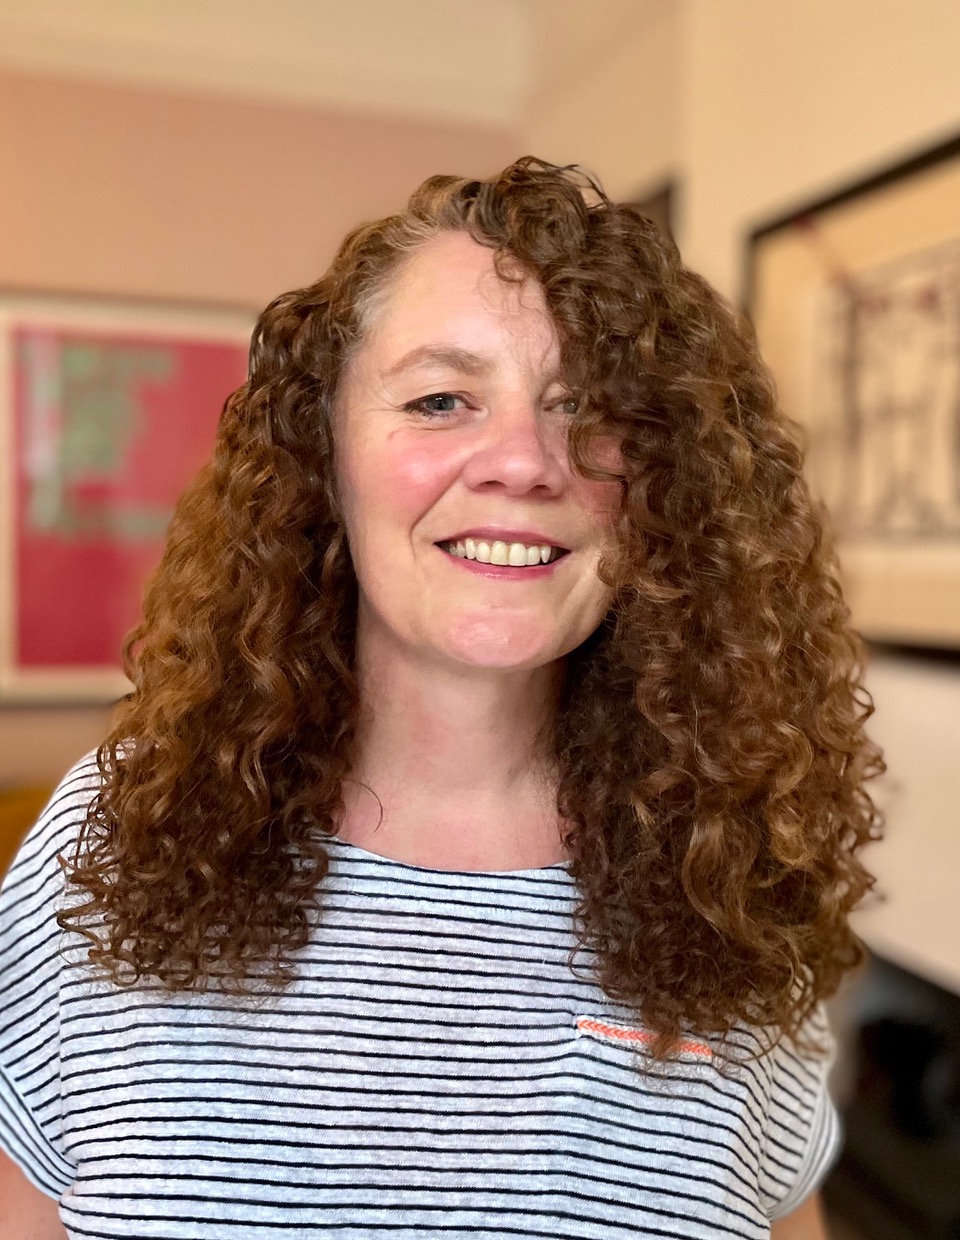
I’m Kate Hewitt, 40, a content creator, @our_bears_home. I live with my husband, Tom, 40, who works in insurance, and our children, Greyson, 12, and Charlie, eight. Our home is a four-bed 1970s house, bought in March 2020.
What was updated?
We reused everything from the old kitchen, gave the units a dramatic blue makeover, and created a feature wall using a mural.
Why the change?
We had a massive flood which ruined our old kitchen, so we decided to start again in a different room.
How long did it take?
About a year as we’ve done the majority of the work ourselves.
Total cost: £3,065

Kate Hewitt and husband Tom completely renovated their home when they first moved in, including replacing all the flooring and installing a new kitchen. ‘We chose IKEA carcasses but upgraded the doors, from Naked Kitchens, for a high-end look,’ says Kate.
As the previous owner left a nearly new range cooker, this freed up funds for the quality worktop and island Kate had dreamed of, and the couple invested in engineered wood flooring throughout to add warmth and texture.
The project
‘We put so much love and time into renovating the kitchen,’ says Kate, ‘but, when the project was almost finished, we came home to a flood. Water had been pouring from the top floor for over six hours because a push-fit came off the back of the toilet. It was devastating!’

The kitchen had to be removed to pull up the water-logged floor, and because of delays with the insurers, who couldn’t supply contractors to do the work, the family moved into temporary accommodation and Kate and Tom decided to tackle the job themselves.
‘We did a lot of YouTube research, and we have a carpenter friend who taught me new skills to help with the build,’ explains Kate.

What we did
‘We decided to relocate our kitchen into the annexe, where our living room had been, as the doors look out to the garden and we’d already installed the log burner, so we could include a cosy snug area,’ says Kate.

And as there was nothing wrong with the kitchen cabinets, the couple decided to reuse them. ‘I used masking tape and cardboard boxes to plan the new layout, and then we took the units out really carefully so they could be repositioned,’ says Kate.
The couple had the island cut down to fit the new space. Kate also upcycled the L-shaped seating from the previous dining nook, originally made out of IKEA kitchen cabinets, into a long bench with handy hidden storage.

Highs & lows
‘The ceiling had to be replaced, and I did cry at one point when we had no roof – it was raining, and the reality of the devastation kicked in,’ remembers Kate. ‘But sustainability is at the core of everything I do, and I wanted to salvage as much as possible. So even though the floorboards were bowed and stained, we decided to reuse them to create a vaulted ceiling.’
The couple did most of the installation themselves, and Kate admits that the learning process took time: ‘we had to make sure everything was level and fit properly, and that the ceiling was watertight. But because I helped with a lot of the work, I care about the space far more than if a contractor did it.’

The final details
‘Once in position, the white units blended in too much with the open-plan space,’ says Kate, ‘so I decided to paint them. I’ve been experimenting more with colour recently, so I went for a moody blue called Deep Sea by Rust-Oleum for the cupboards and drawers.’

She also taught herself how to wallpaper, choosing the dramatic forest design mural, Eclectic Landscape Green by belarteSTUDIO, for the dining area.
‘I’ve really enjoyed learning how to DIY, and believe it should be accessible and fun as well as functional, and I want to encourage everyone to give it a go,’ says Kate. ‘But for now, I’m just happy to have my dry kitchen back!’


Photos: Caroline Mardon