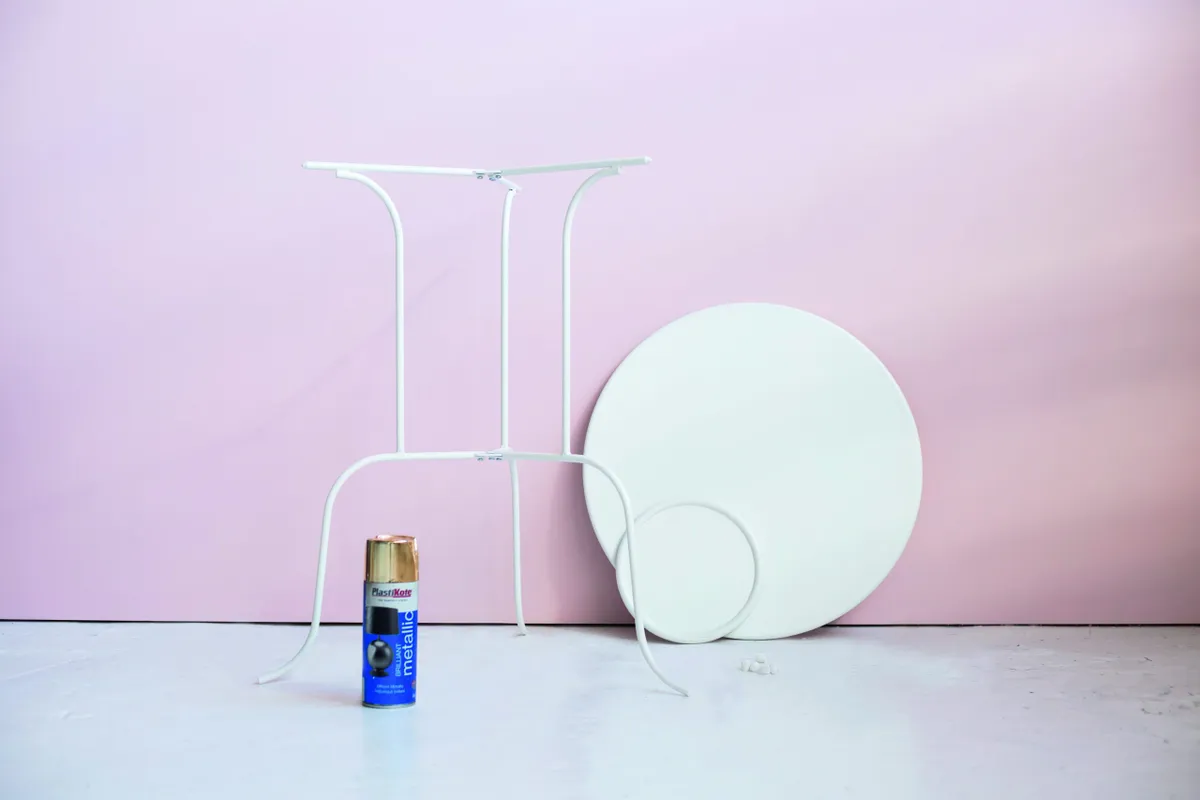
Step 1
You’ll find it easiest to complete this DIY as you’re putting the table together. If you’re working with a brand-new IKEA table, just follow the instructions included. If the table is already assembled, check how easy it is to put back together again before taking it apart. If all else fails, gather together newspaper and masking tape so you can section the legs off before spraying them.
Step 2
The Lindved table legs come in three parts. Lay each one down on its side and spray a light layer of gold paint over all three. Try to cover the sides as well as the top. Once dry, turn over and repeat. Build up the layers until you have an even covering of paint. Assemble the legs following the instructions. Once they’re complete, re-spray any missed sections or flaws.
Step 3
While you’re waiting for the layers of paint on the table legs to dry, get started on covering the table top with the self-adhesive paper. Measure a piece of the marbled self-adhesive paper a couple of inches larger than
the table surface area.
Step 4
Using a ruler or a squeegee, carefully peel back one corner of the backing paper and press into place on the table top, smoothing out any air bubbles. Make sure the rest of the paper sits correctly over the rest of the surface. If it doesn’t, peel it off and adjust.
Step 5
As you continue to peel off the backing, seal the adhesive paper to the table using the ruler or squeegee, pushing out any air bubbles as you go.
Step 6
Once all of the backing has been peeled off and the self-adhesive paper is securely pressed onto the surface of the table, cut away the excess by running a craft knife around the edge of the table.
Step 7
Press down the edges of the marbled paper and pop any air bubbles with a needle, pressing out the excess air and smoothing down the paper.
Step 8
Once the legs are dry, attach these and the second surface to the table top following the instructions. If you turn the table upside down to do this, place it on a soft surface to make sure the floor doesn’t scratch the paper.

