How to gold leaf furniture

Add vintage glamour with this easy but effective technique

Published: December 6, 2021 at 11:53 am

Adding gold leaf to furniture isn't just about creating extra bling as it can be used to give furniture a tarnished yet decadent, worn look full character and period charm, reminiscent of a time gone by.

Gold is synonymous with wealth and luxury and carefully applied gold leaf can upgrade any piece of furniture, from beds to mirrors and picture frames, console tables to chest of drawers and light fittings. You can even add it to walls to enhance features.

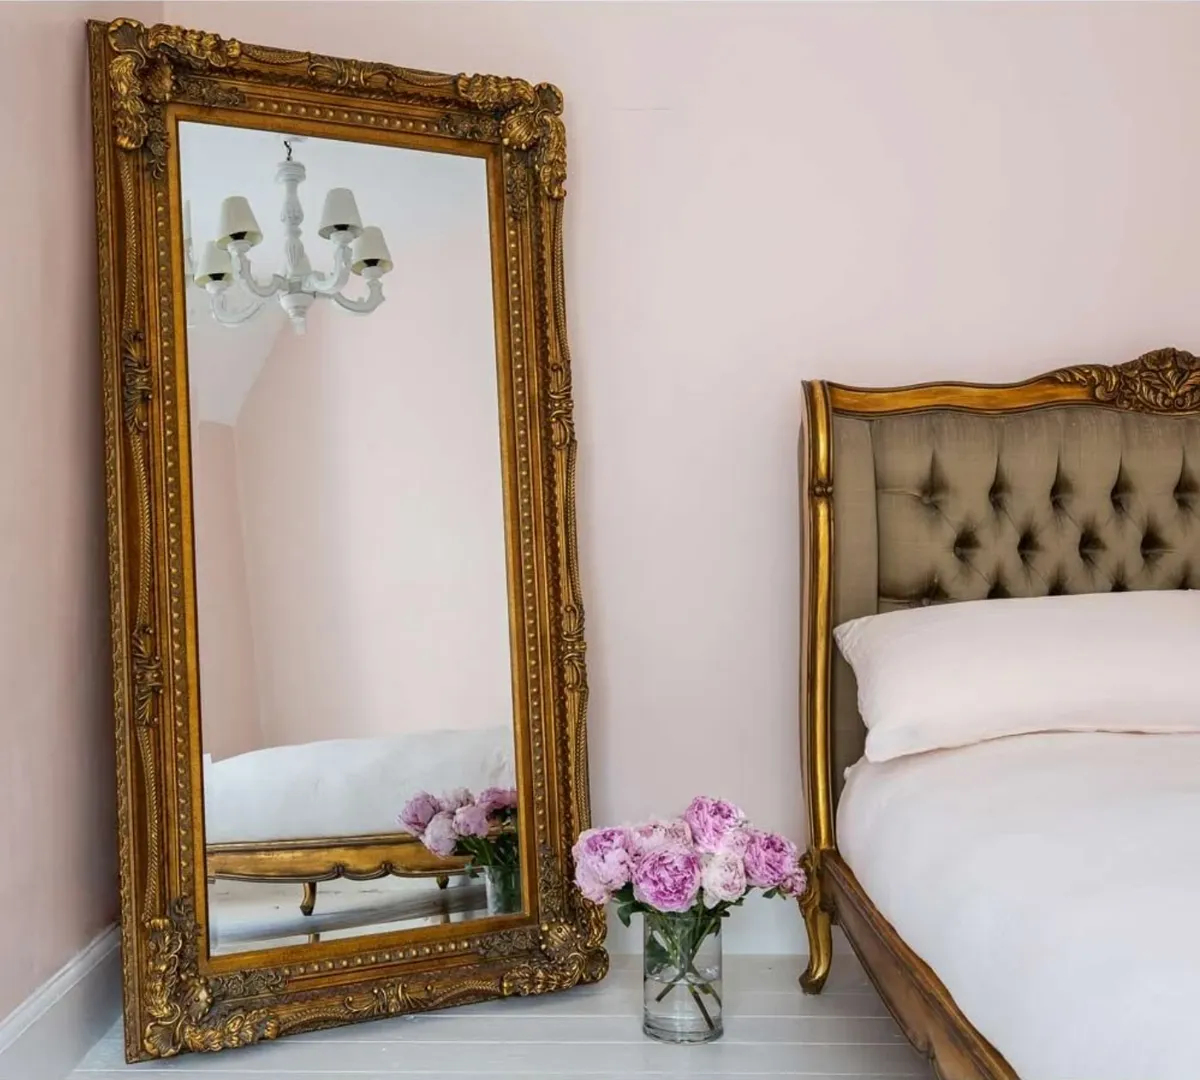
What colours go with gold leaf?

Gold goes with most colours - from warm neutrals to blues, pinks to greens - so you can really let your imagination run wild. Whether you want to create a hint of Versailles and chateau chic or use it to help distress furniture adding gold leaf is an effective technique that complements all types of colour schemes and interior styles.

Double-Framed Marquise Gold Mirror, The French Bedroom Company

What you need to gold leaf

  • Gold leaf
  • Sand paper
  • Primer
  • Water-based ‘size’
  • Soft brush
  • Sealant

Step 1

  First, choose your gold. Imitation gold leaf is a lot cheaper than the real stuff, so it’s a good choice for a first project and comes in packs of 5½ inch squares.

Step 2

Prepare your furniture. Sand or fill any bumps or holes and apply primer to your piece to make sure it’s not porous. If it’s metal, a simple dust and good clean with soapy water should do.

Step 3

Mask off the area you want to gild and apply a thin, even layer of water-based ‘size’, which is the adhesive you’ll use, to the surface, making sure it’s not too thick. Most importantly, leave until it’s almost dry, but still slightly tacky.

Step 4

Start applying your gold leaf. It’s usually backed by tissue so lay it tissue side up and use that to gently rub the gold onto your furniture. Continue until your area is covered; it’s a good idea to have a bit of overlap of your squares, and then leave to completely dry. This can take up to six hours depending on the size of your project so do be patient.

Step 5

  Use a soft brush to remove any excess gold leaf and then leave the size to cure for 24 hours. Lastly, cover the gold with a sealant to protect it and prevent chips and scratches, and leave this to dry for about 24 hours

For more upcycling advice and inspiration check out our DIY and craft section


This website is owned and published by Our Media Ltd. www.ourmedia.co.uk
© Our Media 2024