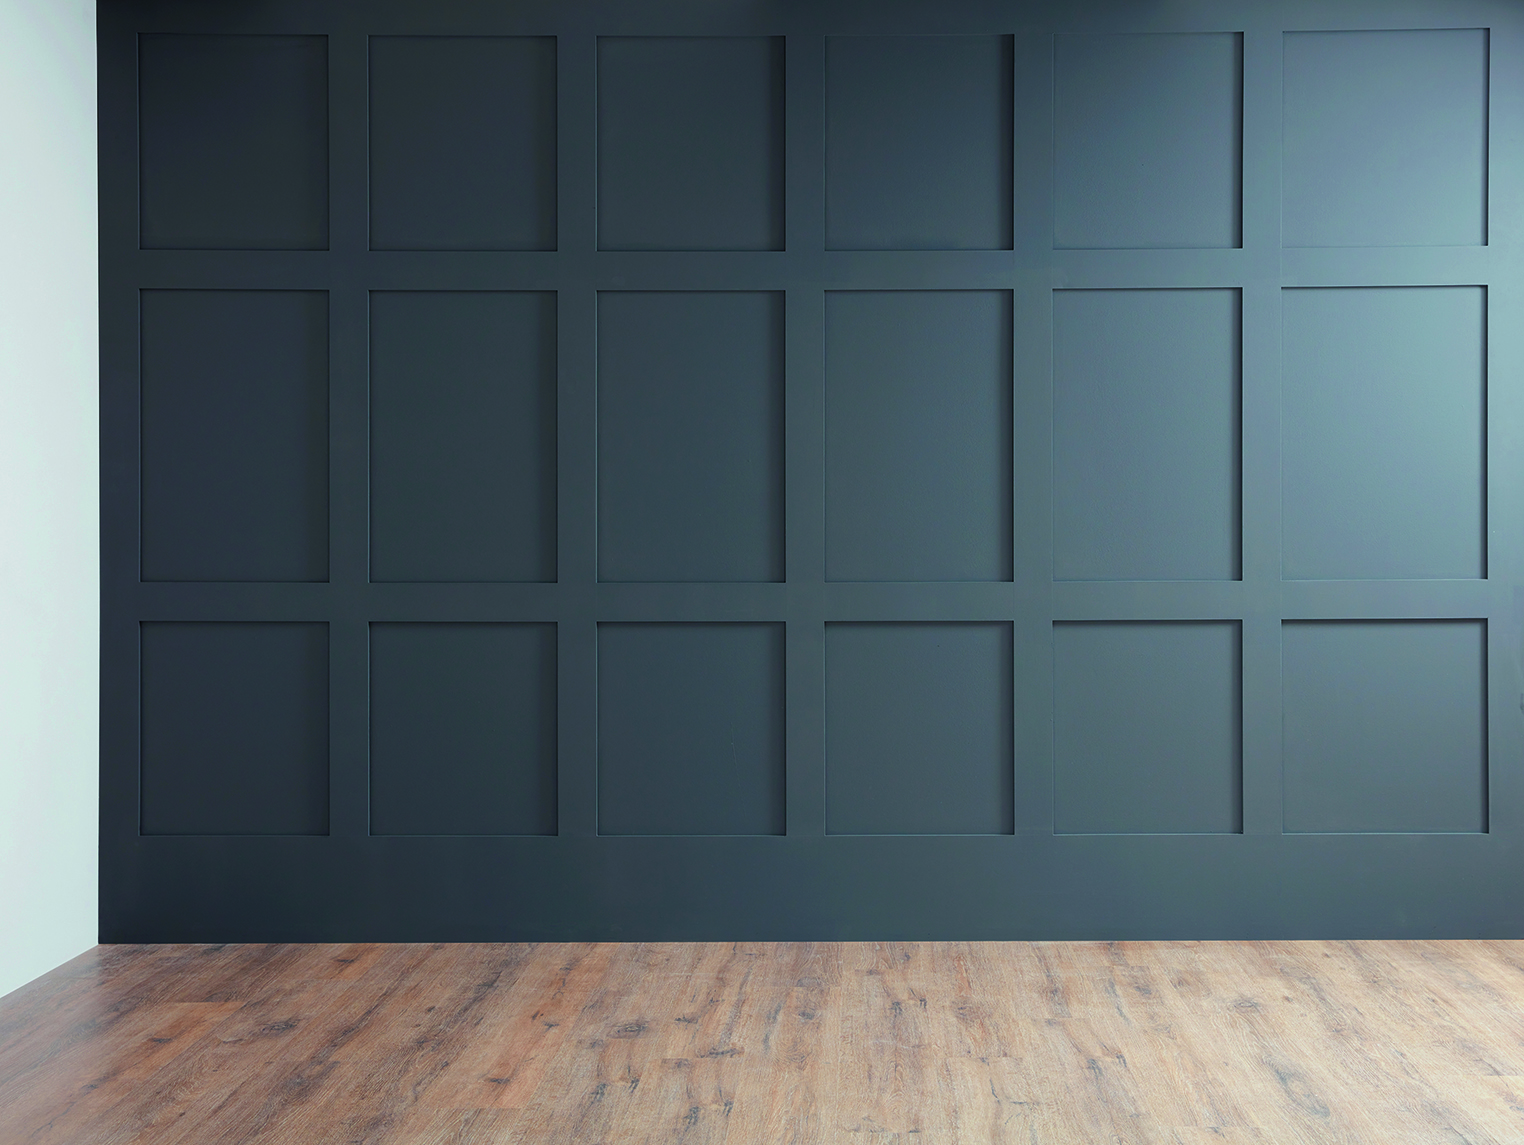
Step 1
Draw out your design, it doesn’t have to be accurate, this is just to give you a visual guide to help you work out your spacing and how many panels you’ll need.
Step 2
Measure the height and width of the wall or walls you’ll be panelling and jot down these measurements. Decide on the width of panel you’d like to use and the distance you’d like between each panel to work out how many panels you’ll need. Remember to account for the top and base panels (the frame) as well as the vertical panels (known as stiles) and horizontal panels (known as rails) when working this out. Redraw your design, this time with the exact number of panels you’ll be using so that you have an accurate guide to work from.
Step 3
Make a list of all of the sizes and quantity of panels you’ll need – this is your cutting list. You can cut the panels to size yourself from a sheet of MDF or MDF moulding, or stores such as Homebase will cut panels to size for you and even offer panelling kits to make the job easier.
Step 4
Prep your walls. Fill any holes then sand to create a flat, even surface. Use an electric sander for this if you have one. Vacuum, then wipe over with sugar soap to remove any dust, grease or dirt. Leave to dry.
End of Day 1
Step 5
Start of day 2. Measure and draw the position of your panels onto your walls with a pencil. Begin by adding the horizontal base rail using No More Nails glue. Press firmly all the way along, using a spirit level to check the panel is level. Leave to dry.
Step 6
Measure and stick your horizontal top rail in position, using a spirit level, and leave to dry. If you need to, tack a couple of panel pins into your top rail to hold in place until the glue has dried. Once dry, stick the two vertical side stiles into position to form a frame. Leave to dry.
Step 7
Following your measurements, stick the rest of the vertical stiles to the wall, using your top and bottom rails as spacers and checking each one is straight using your spirit level.
Step 8
Glue the horizontal rails between the vertical stiles, using panel pins if needed to hold them in place until the glue has set. Leave to dry overnight.
Step 9
Start of Day 3. Remove any panel pins and fill the holes with Polyfilla. Fill any small gaps between the panels with Polyfilla, leave to dry then gently sand and wipe clean. Now you’re ready to paint.
Step 10
Some MDF panels come pre-primed but if not, you’ll need to give your panels a coat of primer and allow to dry before adding your top coat.
Step 11

11 Paint the first top coat of your chosen colour and allow to dry before finishing your project with a second top coat.
Then step back and admire your handiwork
