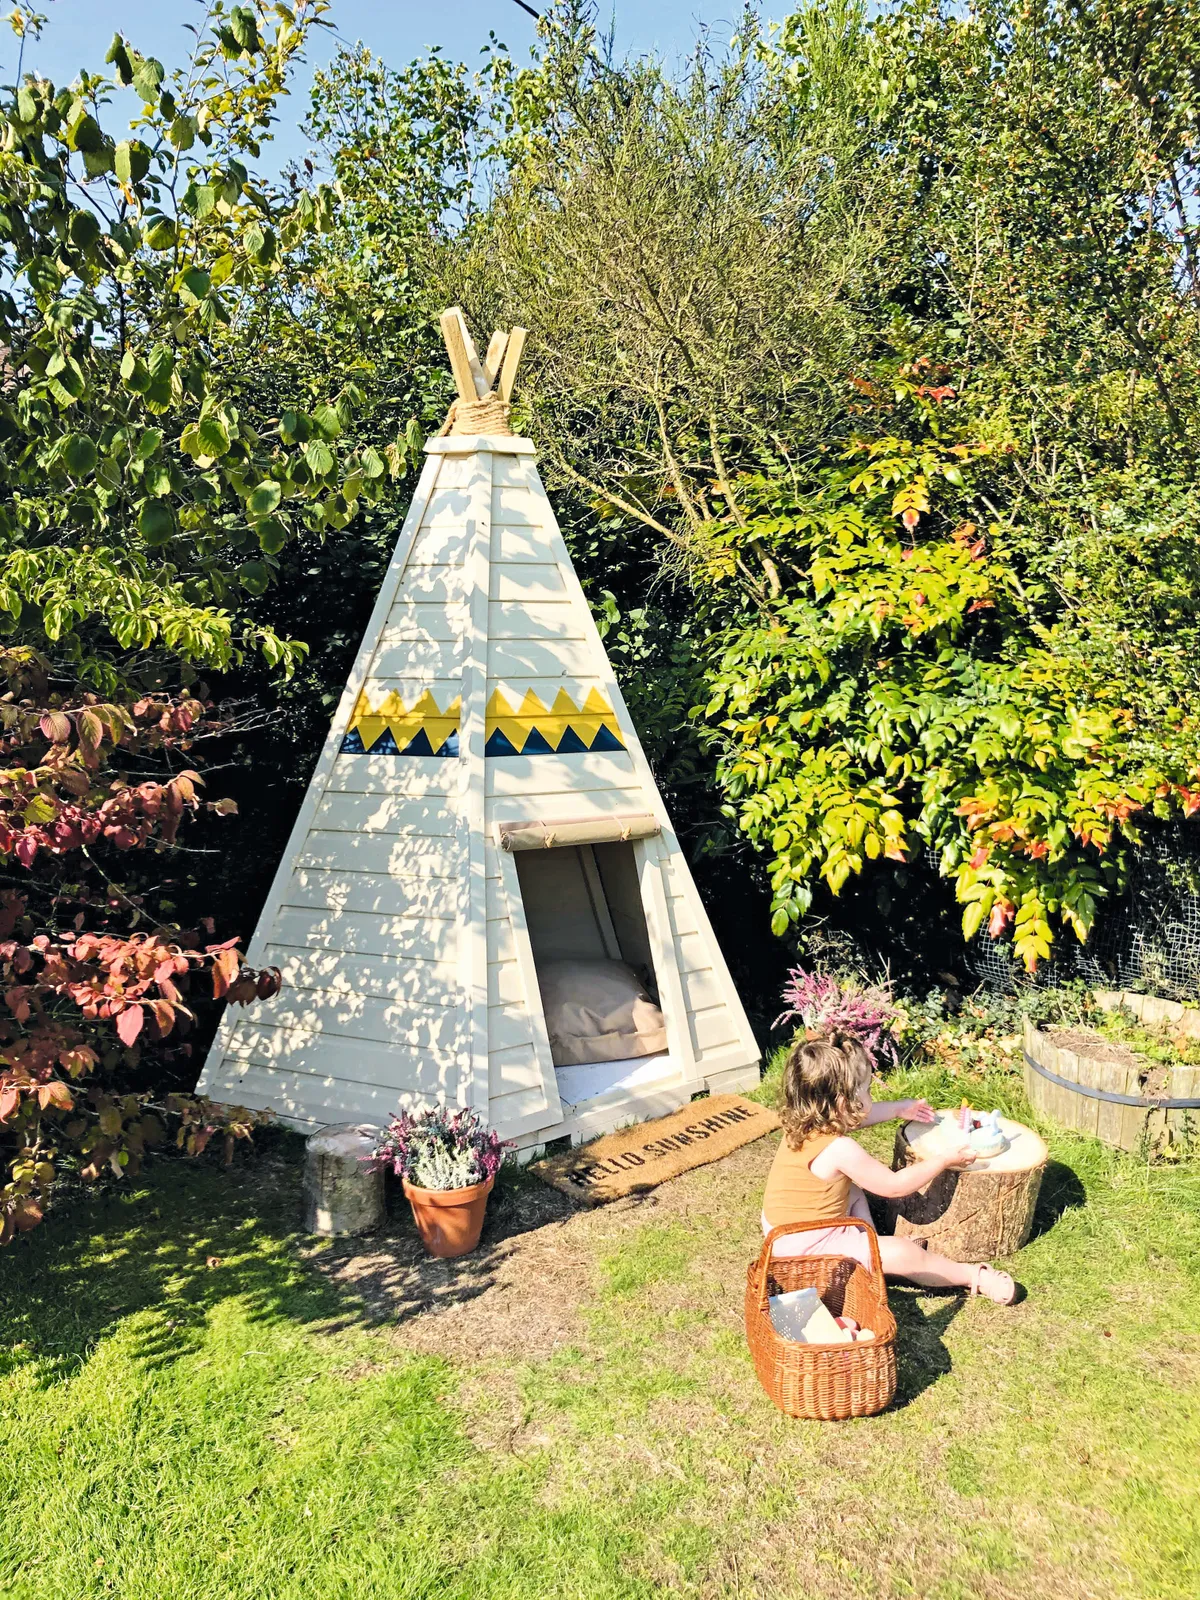
Step 1
Use a protractor and tape measure to mark a pentagon on the chipboard with five 76.2cm sides and internal angles of 108°. Clamp the wood to a solid surface then use the jigsaw to cut the pentagon out; this is the base. Next, cut 5 x 76.2cm lengths from the two 2.4m x 48mm pieces of treated timber and screw them under the edges of the base to raise it off the floor.
Step 2
Apply undercoat and gloss paint to the base to reduce damp getting into the chipboard. Position the base where you want the teepee playhouse in your garden, ensuring all sides are easily accessible (it will be too heavy to move once the cladding is added). Use the side that faces into the garden for the doorway.
Step 3
Lay the five poles together on the ground then measure and mark a point 30cm in from one end on each. Tightly bind the poles together at that point using the twine and then lift the poles into position above the base – you’ll need two people for this step. Splay the poles out so there’s one at each corner of the base and the tops of the poles are over the centre. Screw the bottom of the poles to the base. Adjust the poles to reposition them over the centre of the pentagon, so they rest evenly.
Step 4
Starting at the base on one side, mark a length of shiplap to fit across two poles. Cut it to size with the handsaw, then screw it into place. Repeat this on four sides of the pentagon (leave the fifth for the doorway). Remeasure and cut lengths of shiplap for the next level up and continue until four sides are covered.
Step 5
Measure and cut the remaining 48mm timber to make a door frame. Secure the door frame to the side poles on the fifth (unclad) side and the base. Then clad that side with the remaining shiplap. Use panel pins to secure strips of the 6mm thick wood to the corners to finish them and cover up the shiplap edging.
Step 6
Wind the rope through the poles at the top of the teepee to seal the opening. When it rains the rope will expand, which will help to prevent too much water getting inside.
Step 7
Sand down the inside walls using an electric sander, then paint them with the undercoat and gloss you used on the base. Undercoat the outside, then paint with Cuprinol Wood Paint in Country Cream.
Once dry, mark out the zigzag pattern in pencil and use masking tape for the trickier areas. Paint the yellow shapes first, then overlap with the blue.
Step 8
Measure the doorway, then cut a piece of canvas, adding an extra inch on each side so that, when stitched, it overlaps the opening. Fold over and stitch each side, then stitch a pocket across the bottom to hold a dowel rod (this gives the ‘door’ some weight and stops it flapping when it’s down).
Next, measure how much length you need for the hoops and toggles (they need to be long enough to meet when the canvas is rolled up) and stitch them to the front and back of the canvas. Make sure you stitch them the same way around on each side as when the canvas is down you’ll see the toggles on the front (the hoops will be on the inside).
Step 9
To secure the canvas to the teepee, we stapled it to the top of the door frame. This section of the door frame was painted but wasn’t fixed into position until we’d stapled the canvas in place to make this easier.

