Start your festive crafting this weekend with our Scandi stocking tutorial!
Make by Jessica Entwistle from Simply Sewing issue 11
Looking for more creative home DIYs? Here are a few of our favourites:
You will need:
- Template – see below
- Printed fabric
- White cotton fabric
- White cotton thread
- Air or water erasable pen
- Basic sewing kit
- Scissors
Step 1
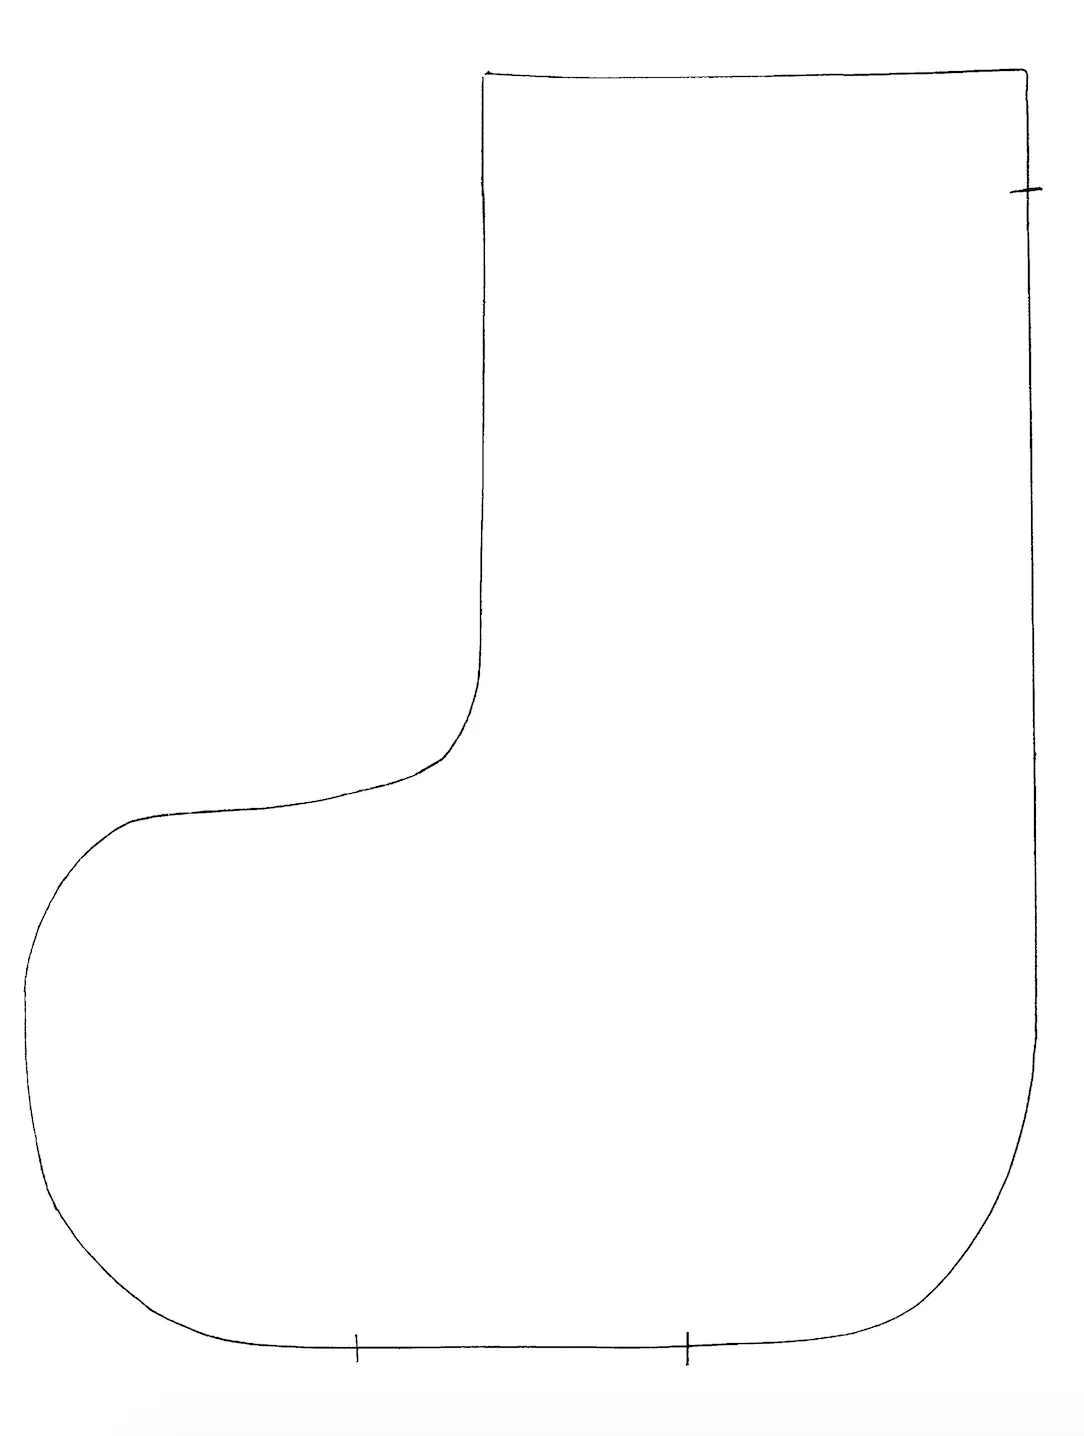
Cut out a left and right stocking foot from the white and printed fabric.
Step 2
Pin one printed stocking piece right sides (RS) together with the corresponding white stocking piece. Sew along the top 1cm in from the edge then press this seam open. Repeat with the other two stocking pieces.
Step 3
Lay one of your open stocking pieces RS up. Fold your ribbon in half then place it on top of the stocking piece, about 3cm down from the seam so the loop is on the inside.
Step 4
Lay the other sewn stocking piece on top RS together and pin into place. Mark the turning gap on the bottom of the white stocking piece as shown on the stocking template.
Step 5
Sew along the template line, starting at one end of the turning gap on the white stocking inner, all the way around to the other end of the turning gap, backstitching both at the start and end of your sewing.
Step 6
Cut around the edges, clipping the curves as you go. Turn the stocking RS out through the turning gap. Iron the stocking flat, making sure you ease out the curves so the seam lies exactly along the edge.
Step 7
Tuck your turning gap edges in and then topstitch this seam shut. Push your lining into your printed stocking outer to finish.