Try these easy no-carve pumpkin decorating ideas this Halloween
No autumn decor scheme would be complete without pumpkins - but although carving a pumpkin is the most traditional style of decoration, and definitely a Halloween favourite. this year why not think beyond the box and try out some no-carve pumpkin decorating ideas? They're also a super family-friendly option, as they don't require a lot of chopping and hacking with sharp instruments, meaning you can relax a little more when giving them a go with younger helpers.
Interested? We've selected three of our favourite easy craft projects that bring something fresh and fun to the art of pumpkin decoration. Just scroll down to see our simple tutorials showing you how to make painted autumn pumpkins, pretty perforated pumpkins and a glamorous pumpkin centrepiece.
- Affordable autumn decorating ideas to make your home feel cosy
- Heat your home more efficiently this autumn with these money-saving hacks
- Give your kitchen a makeover this autumn with these lighting ideas
Three no-carve pumpkin ideas for your autumn decor
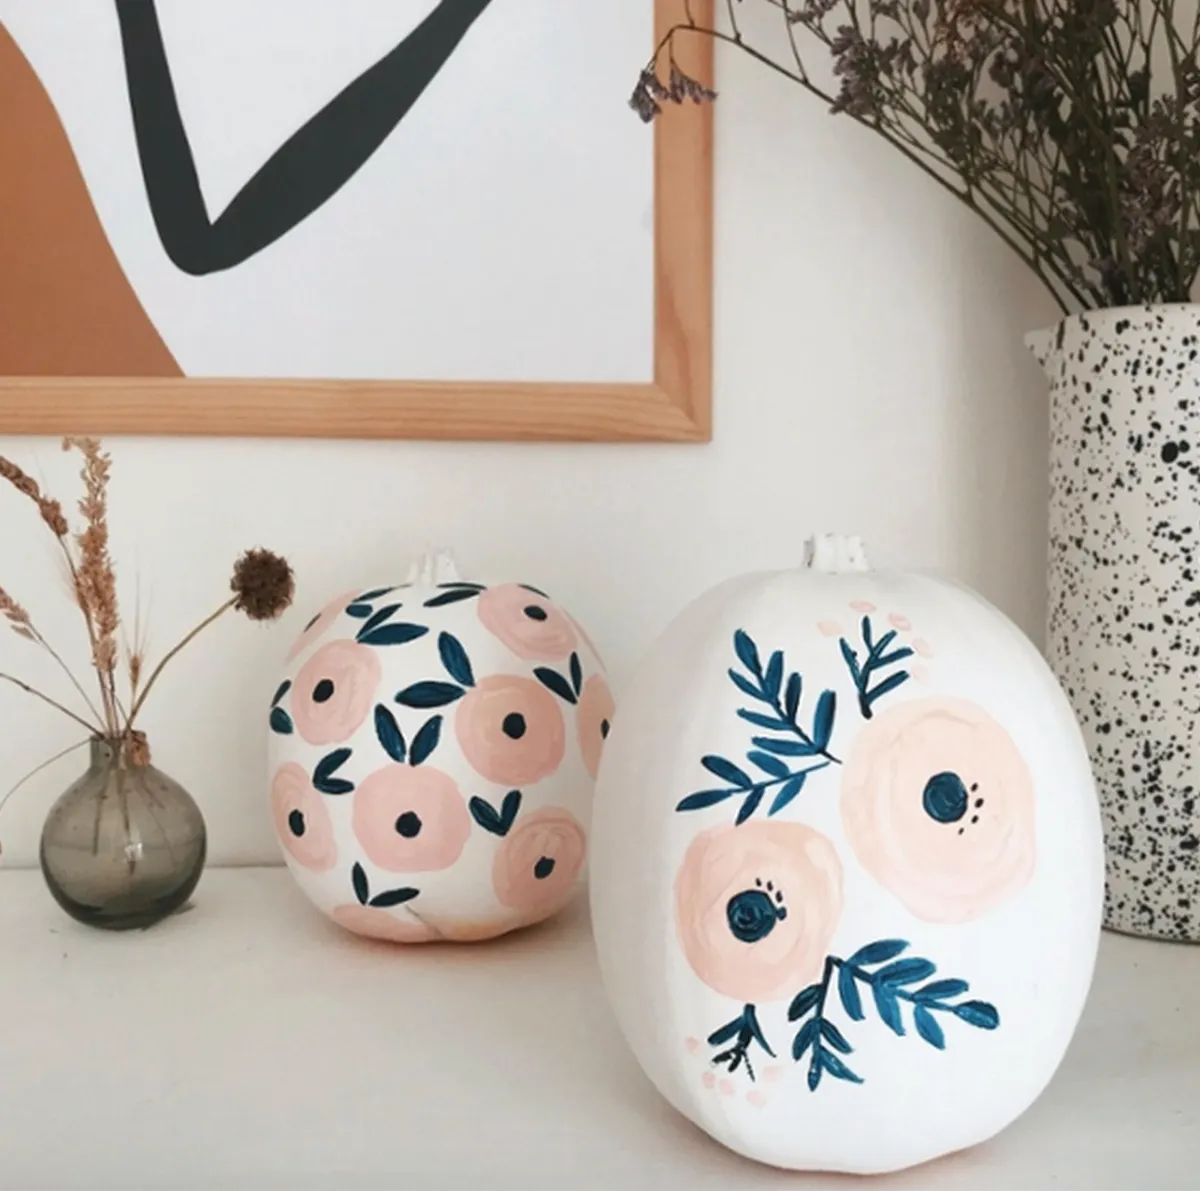
Painted autumn pumpkin
You will need
- 2 pumpkins
- Matt white spray paint
- Acrylic paints in your choice of colours
- Paint brush
- Pencil
First, paint both of the pumpkins with the white spray paint. Once both of the pumpkins are covered and none of the orange skin is showing through, leave them to dry overnight.
To create the floral motifs on the smaller pumpkin, mix pink acrylic paint with red to create a peachy colour. Use this to paint circular shapes onto the pumpkin. Using a darker colour, paint on the leaf shapes. We love this deep blue colour, but you could also go for classic green. If you aren’t confident about working straight onto the pumpkin, use a pencil to draw the leaves on first and then fill the shapes in with the paint. Using the darker colour, add small circles to each of the floral motifs to create an illustrated style of floral.
For the larger pumpkin, use the same peach colour to paint two circular shapes onto the middle of the pumpkin. Add lines with tear drop shapes to create foliage branches stemming from the flowers.
Finally, add buds by painting small circles at the top of the stems, then paint dark circles on the centre of your floral motifs as you did with the first pumpkin. Leave to dry overnight.
Craft and images courtesy of Hobbycraft
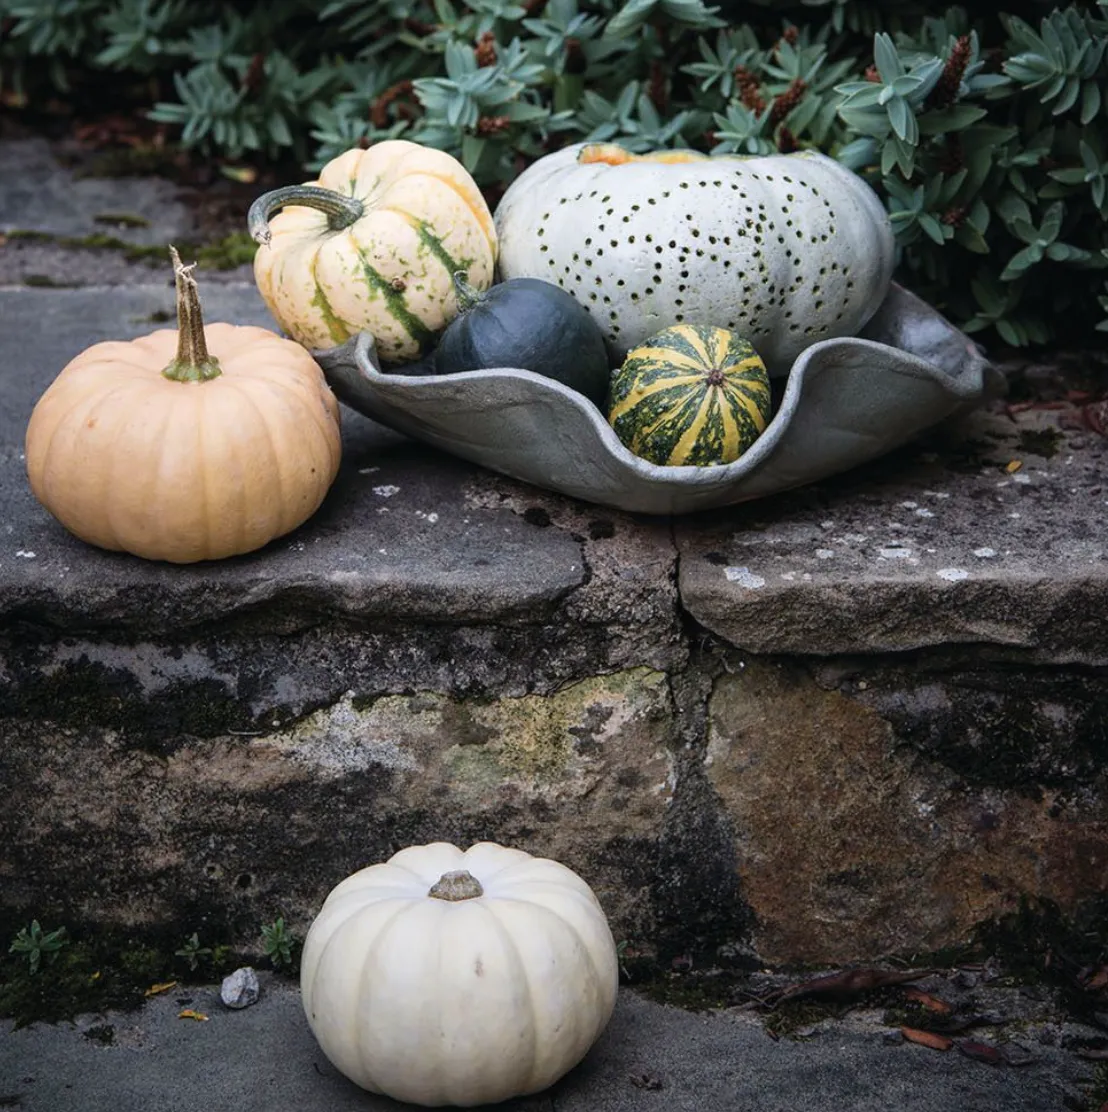
Pretty perforated pumpkins
You will need
- 1 pumpkin
- Sharp knife
- Tablespoon
- Pencil
- Drill with a small drill bit attached
Using the knife, cut a large circle into the top of the pumpkin for the opening. Take off the top and scoop out the insides with the spoon (remember to reserve the seeds for roasting).
With your pencil, draw the pattern you want to create onto the pumpkin. Once you’re happy with the design, it’s time to start drilling. Drill small holes along the lines you’ve drawn being – take care not to drill them too close to each other.
Once you’re done, give the pumpkin a final clean and put a tea light into it. You could also add a lick of paint as an extra finishing touch.
Craft and images courtesy of AO Life
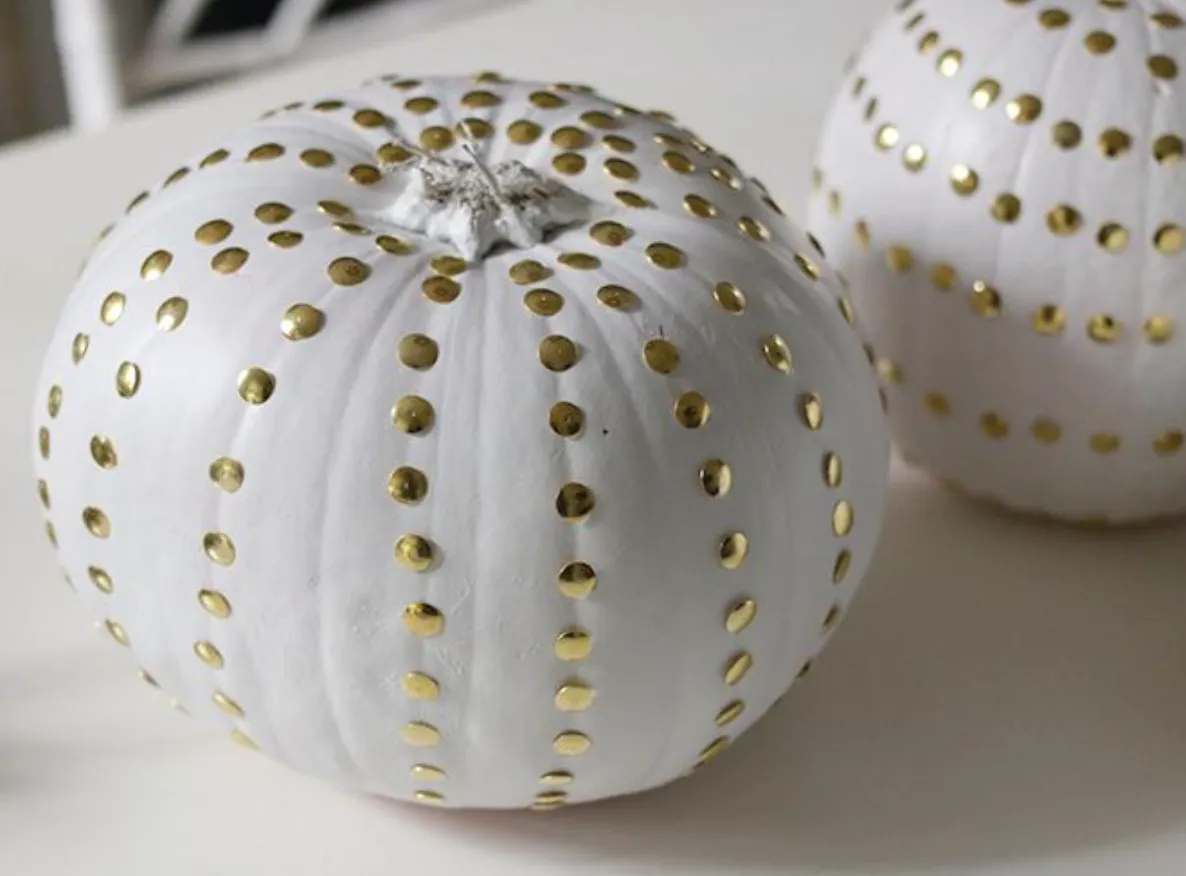
Glam pumpkin centrepiece
You will need
- 3 pumpkins
- Gold thumb tacks
- Matt white spray paint
- Eucalyptus branches
- Pussy willow stems
For this centrepiece display, start by painting your pumpkins with matt white spray paint. Apply 2-3 coats and leave each one to dry before moving on to the next.
Once your pumpkins are completely dry, use the thumb tacks to create designs. You could follow the natural grooves down the pumpkin or create a concentric spiral pattern from the top right down to the bottom. For a final touch, set your pumpkins in the middle of the table and tuck the eucalyptus branches and pussy willow stems decoratively around them.
Craft and images courtesy of AO Life